Posing > 

Adjust a joint's pivot location


When you create a joint in Mudbox, it is placed within the center of the volume by default (see Create a joint). In most cases, this provides a good starting point from which to pose or deform the model component associated with the joint.

NoteYou can change the default joint placement from Interior to Surface in the Create Joint properties.

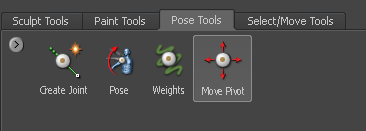
You can reposition joints using the Move Pivot tool. The Move Pivot tool lets you translate the pivot for the joint based on the viewing plane of the camera.

NoteThe weighted region for a joint is not updated when it is relocated. Edit the weighted region using the Weights tool.
  1. In the Pose Tools tray, select the Move Pivot tool.
  2. Using the camera navigation tools, tumble the view of the model so it appears planar to the pivot translations you plan to make.
    NoteAdjust your view as necessary as you use the Move Pivot tool to reposition the joint accurately, or use the orthographic camera views (Front, side, top, and so on). Joints remain visible regardless of the camera view when a Pose tool is selected.
  3. Click-drag the joint in the 3D View to position it.

    You can tumble the view or switch camera views as required while the tool is selected.

Related topics

Posing overview

Pose Tools tray

Create a joint

Pose a model component

Adjust a joints region of influence

Importing joints

Troubleshoot posing

Creative Commons License Except where otherwise noted, this work is licensed under a Creative Commons Attribution-NonCommercial-ShareAlike 3.0 Unported License