


In the following procedure, you characterize in MotionBuilder the 3ds Max Pepe character you saved in the previous procedure (Send a 3ds Max character to MotionBuilder) so you can animate it in MotionBuilder. The Pepe character is a 3ds Max biped, with a mesh and materials.
To animate a character, you need to characterize the character and then add a Control rig.
To characterize the 3ds Max character:
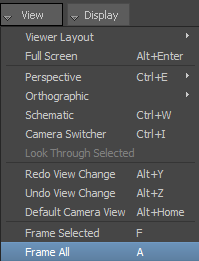
Viewer window View menu
You can now see all of the Pepe character in the Viewer window.

3ds Max Pepe character in MotionBuilder
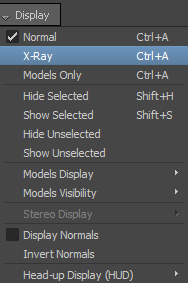
Viewer window Display menu
The X-Ray mode enables you to see the character's skeleton.

Pepe character displayed in X-Ray mode
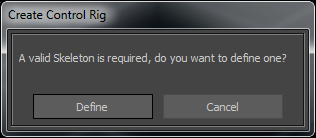
The Create Control Rig dialog appears.
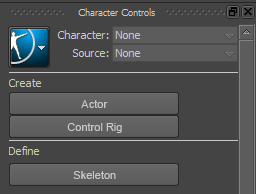
The Character Controls window displays a character representation in the Character Definition pane with a non valid characterization indicated by a red symbol (  ) at the top right.
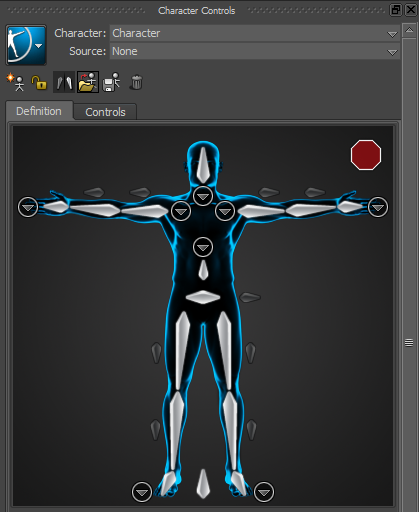
Character representation displays a non valid characterization
 ), drag the Zoom tool (
  ) or Ctrl-drag to zoom in on the skeleton.
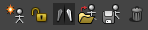 ), click the Load Skeleton Definition (
  ) option.
The Load Skeleton Definition dialog appears.
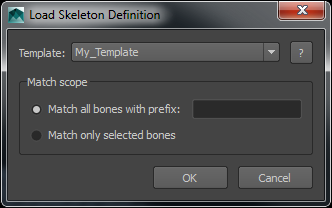
Load Skeleton Definition dialog
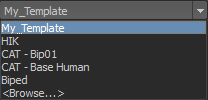
The Template menu options lists the skeleton definition templates you can choose from to match your bone naming convention.
In the Character Controls window, the Character representation in the Definition pane displays a yellow symbol (  ) indicating problems have been detected with the characterization.
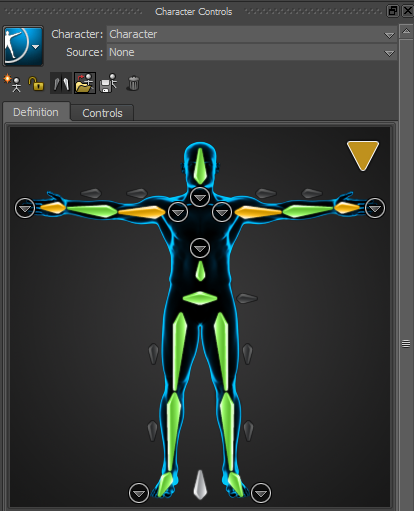
The issues with the characterization are described at the bottom right of the Character Definition pane. Hovering with your mouse over the yellow symbol also displays the issue(s).
In this example, the right and left hands and arms don't seem to be parallel to the X axis.
The Definition pane displays the RightArm values.
values.

Orthographic Producer Top View menu option
), drag the Zoom tool ( ) or Ctrl-drag to zoom in on the biped.
 ) or press R to enable rotation.

Pepe shown in X-Ray mode, in Producer Top view
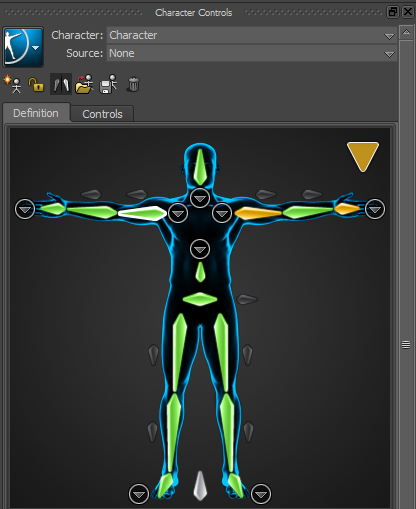
Right arm and hand validation is valid
The changes to the rotation values resolved the characterization issues and therefore, the characterization is valid.
The green symbol (  ) indicates the characterization is valid.
Now that the 3ds Max character is characterized, you can add a Control rig you can animate. Go to the next procedure: Add a Control rig to the characterized 3ds Max character.
 Except where otherwise noted, this work is licensed under a Creative Commons Attribution-NonCommercial-ShareAlike 3.0 Unported License