The following procedure shows you how to use keyframe animation techniques in MotionBuilder to refine the motion capture animation.
If you did not perform the previous procedures in section Characterize a 3ds Max Character in MotionBuilder, you can use the Pepe_rigged.FBX file in the MotionBuilder root directory in the Tutorials folder on your system or the Pepe_rigged asset in the MotionBuilder Asset browser’s Tutorials folder.
To animate the Pepe character using motion capture data:
The Pepe character appears in the Viewer window.
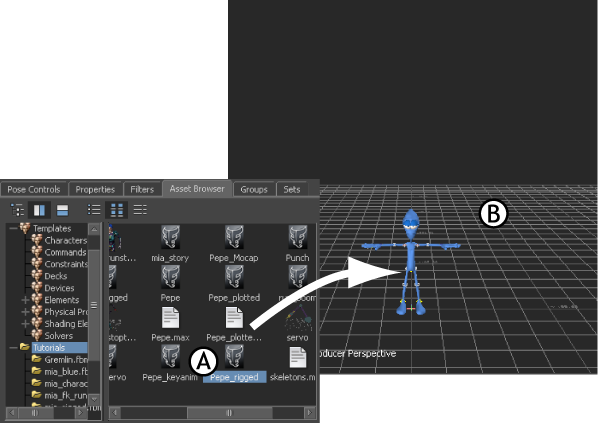
Loading the file A. Pepe_rigged asset in Asset browser B. Pepe loaded in the scene
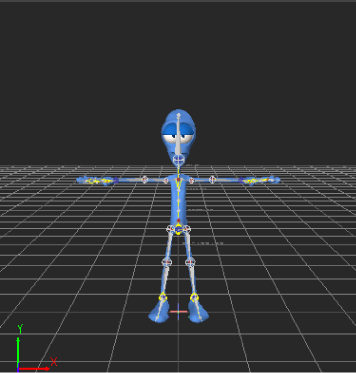
Pepe’s Control rig shown in X-Ray mode

Orbit around Pepe
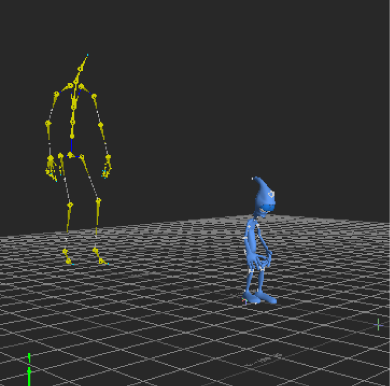
A large yellow skeleton representing the motion capture animation now joins Pepe in the scene.
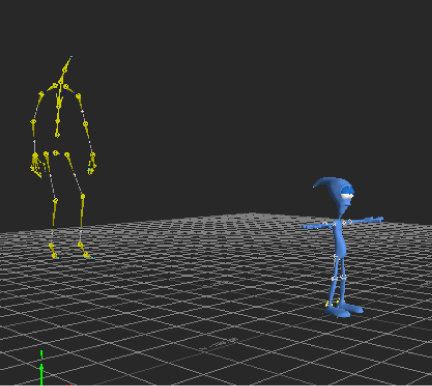
Pepe with skeleton containing motion capture data

Transport Controls A. Play button B. 30 fps selected
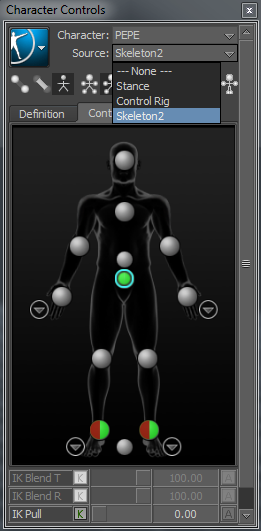
 In the Character Controls, make sure PEPE is displayed in the character list. From the Character Controls window > Source
menu, select Skeleton2, which is the name of the yellow skeleton that contains the motion capture animation.
In the Character Controls, make sure PEPE is displayed in the character list. From the Character Controls window > Source
menu, select Skeleton2, which is the name of the yellow skeleton that contains the motion capture animation.
Pepe assumes the skeleton’s stance as shown in the following figure.
If you look carefully, you will notice that one of Pepe’s hands passes though his face.
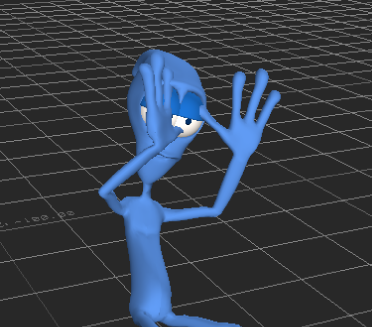
Unwanted hand movement from the motion capture
The animation that drives Pepe’s bone movement is based on a skeleton that has a very different physiology. For example, Pepe’s head, hands, and feet are much larger than the skeleton, while Pepe’s shoulders are much smaller than the skeleton’s shoulder.
You can use this file for the next tutorial where you add keyframes to correct Pepe’s hand movement.
The next tutorial also shows you how to export the modified character back to 3ds Max.


