Chapter 5, Getting Familiar with Your Workspace
| Hotkey Editor | Creating User Defined Attributes | ||
Chapter 5, Getting Familiar with Your Workspace |
|||
A user is defined as a group of settings that belong to a user. The settings include: color palettes, hotkey catalogs, presets, and bookmarks. Preferences are stored in a file named .txuser under your user home directory. User preferences never need to be saved as it is done automatically any time you make a change to your preferences.
 "Show full-size image")
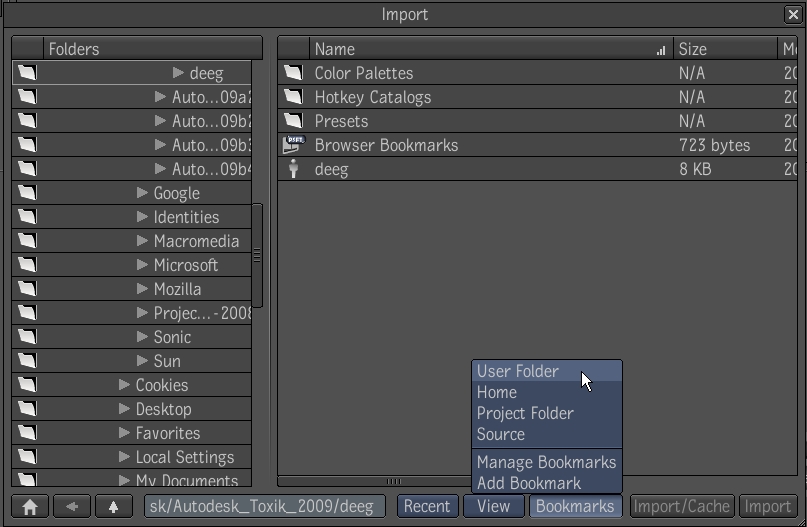
In the Import or Library Browser, there is a bookmark set to your User folder.
 "Show full-size image")
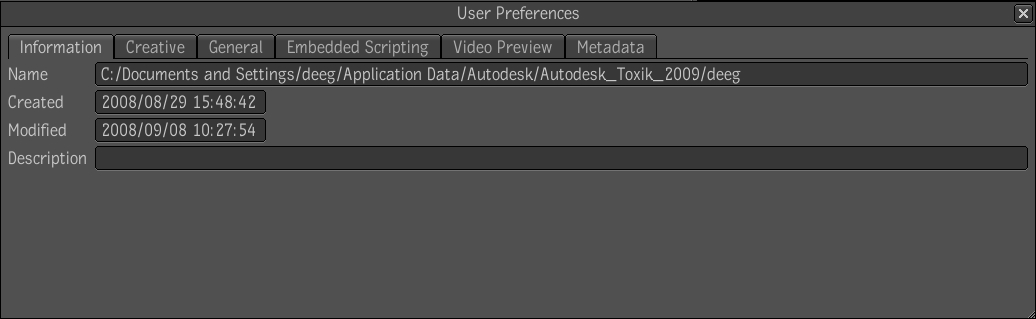
Each user has a set of preferences. When you login, you can set these preferences to tailor the user interface to your liking. There are two ways to access the user preferences: from the menu bar at the top of the Toxik application and from the taskbar at the bottom of the application.
To open the User Preferences window, do one of the following:
From the menu bar, select Edit > Preferences > User.
In the taskbar, click your user name.
Select the Creative tab.

 "Show full-size image")
Set the Gate UI preferences.
Animate Gate -- Determine the way the panels move into the interface when you swipe through the Gate UI. Select this option to have the panels slide into the interface. Deselect to have the panels display immediately in their final position in the interface.
Icon -- Set the transparency of the nodes in the Schematic overlay that appears when you swipe through the north gate of the Gate UI. A value of 100 means completely transparent and a value of 0 means completely opaque.
Background -- Set the transparency of the background of the Schematic overlay that appears when you swipe through the north gate of the Gate UI. A value of 100 is completely transparent; a value of 0 is completely opaque.
Under Masking Menu Tools, add masking tools to the Masking tab Create list.
Under Timecode/Frame, display the composition in frames or timecode
Under Caching.
Set the Schematic preferences. Set these default values for options that appear when you right-click outside of a node in the Schematic view.
Navigator -- Disable the north gate schematic mini viewer.
Highlight -- Highlight tabs and the connections between nodes when the cursor is passed over it.
Auto Layout -- Automatically organize all of the nodes in the dependency graph.
Auto Zoom -- Automatically zoom the view to include all nodes when you drag a node outside of the visible area.
Links -- Select the style (Curved, Angled, or Straight) of the lines that connect nodes in the
Schematic view.
2D Flow -- Build the dependency graph in the Schematic view in a left-to-right or top-down direction.
3D Flow -- Build the dependency graph in the Schematic view in a left-to-right or bottom-top direction.
Set the Player preferences.
Checkerboard Foreground/Background -- Set the foreground and background colors of the checkerboard pattern that appears in the Player when you enable RGBA in the Player preferences. This pattern makes it easier to see the alpha channel of the media. To change the color, click the color pot and use the Color Picker that appears to select a new color.
Grid Size -- Set the size (Small, Medium, or Large) of the individual squares in the checkerboard pattern.
Fill Color--Set the color of the Player by clicking the Override button. Click the color picker and select a color.
Under Selection History, set history length up to 50 selections. The default is 10.Set the selection history preferences.
Under Display Tools Order, place the Comparison tool before or after the display modifier--see Comparison Tool.
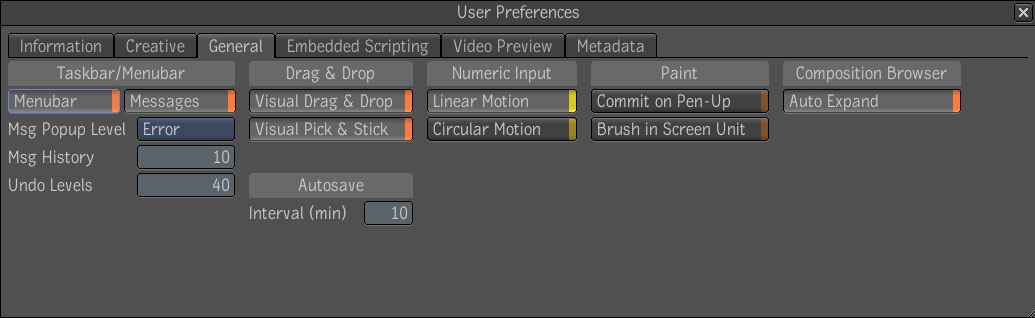
Select the General tab, which contains the taskbar, drag and drop, numeric input, paint, Composition browser, and Autosave preferences.
 "Show full-size image")
Set the taskbar preferences.
Menubar--Show or hide the menu bar.
Messages -- Display messages in the messages area of the taskbar. You can click the messages area to display a list of messages received to date.
Msg Popup Level -- Select the types of messages to appear as pop-ups. The order of the types in the list is meaningful. Each type includes all types that appear above it in the list. For example if you select Information, a popup message appears for all information, warning, error and fatal error messages. If you select Fatal Error, a popup message appears only for fatal error messages.
Msg History -- Set the maximum number of messages in the list that appears when you click the message area of the taskbar.
Undo Levels -- Set the maximum number of items in the Undo list that appears when you click the Undo list in the taskbar.
Set the drag and drop preferences.
Visual Drag & Drop -- See a ghosted image of the selected item as you drag and drop it in the interface.
Visual Pick & Stick -- See a ghosted image of the selected item as you pick-and-stick it in the interface.
Set the numeric input preferences.
Linear Motion -- Use a mouse or pen with a linear motion to increase or decrease numeric inputs when in a value editor. This is the default setting.
Circular Motion--Use a mouse or pen with a circular motion to increase or decrease numeric inputs when in a value editor.
Set the paint preferences.
Commit on Pen-Up--Commit strokes when the pen is lifted from the tablet. The default setting commits paint strokes when the curser exits the viewer or when any key is pressed.
Brush in Screen Unit-- Retain the brush when zooming in the Player view.
Set the Composition Browser preferences.
Auto Expand--Automatically expand the composition tree in the Composition Browser.
Set the autosave preferences.
Destination--The location of your autosave files.
Interval-- The length of time between auto saves, between 0 and 240-minute intervals.