Chapter 11, 2D Compositing
| About 2D Compositing | Alpha Tools | ||
Chapter 11, 2D Compositing |
|||
The 2D Compositor tool lets you create multilayer compositions. It allows you to stack four layers over a background. Each layer becomes the foundation for the subsequent layer, starting with the background, and moving up the stack. You must use a Matte image with an alpha channel between layers to expose what lies beneath the top layer.
Note: If the top layer has an embedded alpha channel, it is shown as black. You can connect the same composition to the Matte channel to achieve the desired result.
The 2D compositor is a "super tool" because it contains a separate 2D Compositor Layer tool inside the tool. A "super tool" is identified in the Tools tab by a spherical icon--see Schematic.
Drag the 2D Compositor tool to the dependency graph in the Schematic view and connect an image or tool output to the Layer 1 Back input tab. This is the background for the first layer.
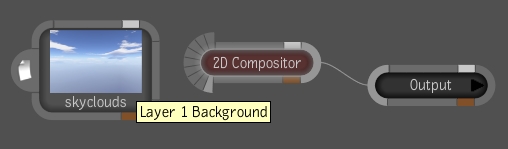
 "Show full-size image")
Note: If you drop a 2D Compositor tool onto an existing connection between two nodes, the existing composition becomes the Layer 1 background input.
Connect a composition to the Layer 1 Front input. This is the image you want to have on top of the background.
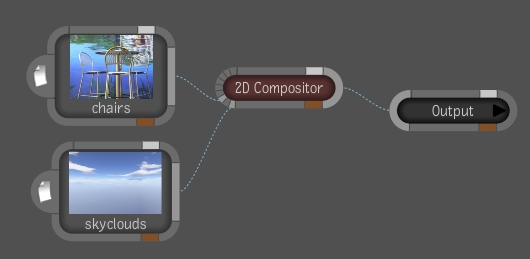
 "Show full-size image")
Connect a composition to the Layer 1 Matte input. This image will determine what portions of the background are visible if the image does not have an embedded alpha channel.
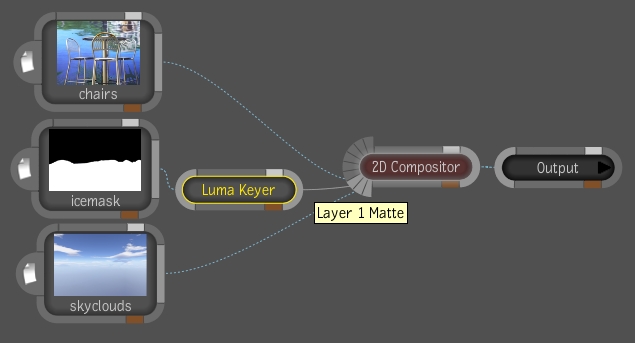
 "Show full-size image")
Add more layers as desired. If a composition has an embedded alpha channel, the alpha channel will appear black. You can connect the same image to the associated Matte input to achieve the desired result.
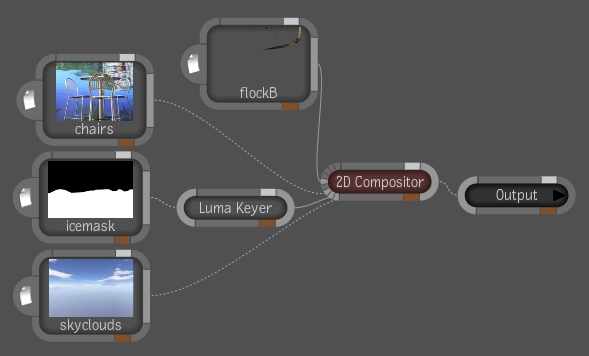
 "Show full-size image")

You can adjust the luminance curves of the front and back mattes of your composite by selecting the layer from the 2D Compositor tool.
The 2D Compositor tool UI is divided into four areas:

 "Show full-size image")
|
|
|
|
In the Layer Browser, select the composite layer to adjust. You can mute or solo the layer.
Use the Layer Tools to navigate through the 2D Compositor's layers.
Select mathematical blending operations from a context menu.
Once a layer is selected from the Layer Browser, click a curve to select it. Adjust the luminance curve by clicking a point to display its tangent handle and drag the handle to adjust the curve. Using hotkeys, you can add and delete control points, break or unify tangent handles--see Curve Editor.