The Overlay user interface is specific to the Colour Corrector and Colour Warper. Its controls are identical to those on the regular user interface except that they are transparent and appear on top of the image. This allows you a greater viewing area when working with large or zoomed-in images.


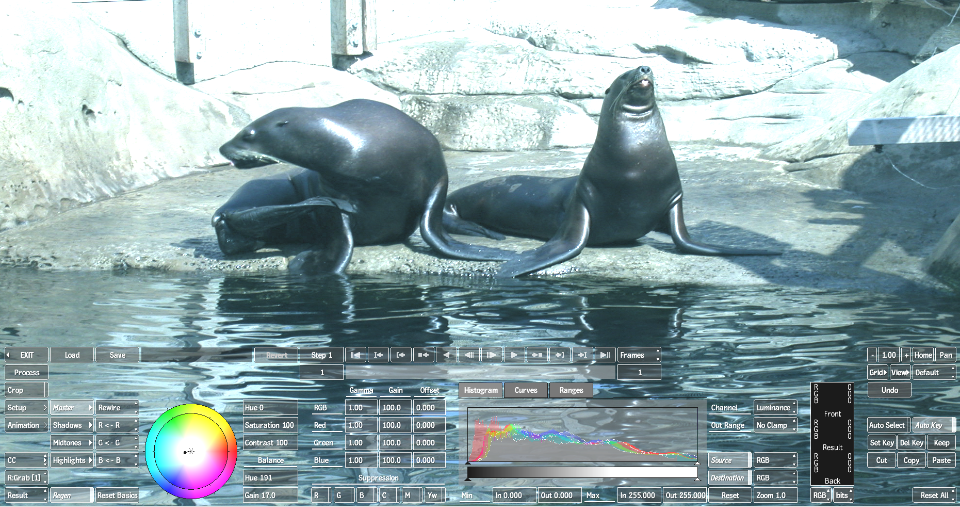
To toggle between the Overlay user interface and the regular user interface:
To hide the Overlay user interface:
In addition to the increased area provided by the transparent controls, you can view even more of your image depending on the action you are performing. For example:


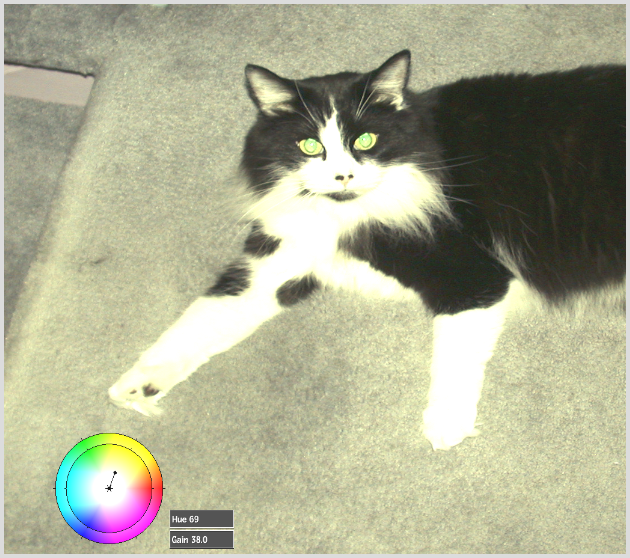
The Overlay user interface does not support multiple views. When you switch to Overlay user interface while using multiple views, your viewport automatically goes to 1-Up until you toggle back to the regular user interface.
When you access a submenu in the Colour Corrector that does not support Overlay user interface, such as Load or Save, the Overlay user interface is restored when you return to the Colour Corrector.
Changing the Look of the Overlay User Interface Buttons
You can adjust the opacity of the Overlay user interface buttons to suit your preference, and even invert the elements in the interface so that white outlines and text appear in a muted grey.
To set preferences for the Overlay user interface:


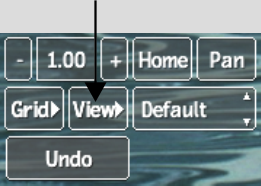
The Overlay user interface preferences are displayed.


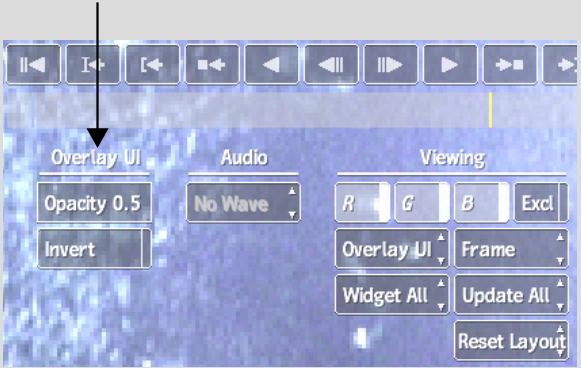
If you accessed the Colour Corrector as a Soft Effect, the preferences are displayed in the lower-left portion of the screen.


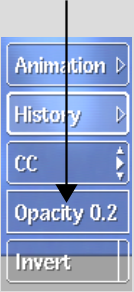
Use the Opacity field to increase or decrease the opacity of the buttons. An opacity of 1.0 displays the buttons as they look in the regular user interface. You can also use the following hot keys:
| Press: | To: |
|---|---|
| Ctrl+Alt+(num pad)+ | Increase the opacity of the Overlay user interface. |
| Ctrl+Alt+(num pad)- | Decrease the opacity of the Overlay user interface. |
Enable Invert (or press Ctrl+Alt+(num pad)* to switch the Overlay user interface outlines and text from white to grey.