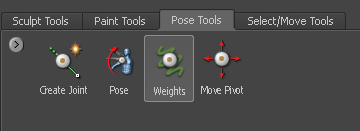
Sometimes a joint’s default region of influence, also referred to as the joint weight, does not produce the desired results when the model component is deformed using the Pose tool. The joint weight (region of influence) can be modified in an interactive fashion using the Weights tool. This can aid in improving the results when you deform the component.
The Weights tool works exactly like the other paint and masking tools within Mudbox by letting you stroke on the surface of the model to add or subtract weighting color in areas of the model you want affected by the selected joint. Adding or subtracting weight color to vertices on a model increases or decreases the amount of influence the active joint has on those vertices when it’s deformed using the Pose tool.
The weight color appears for a joint immediately after it is created using the Create Joint tool, or when the joint is selected using the Pose tool.

To remove paint weight color on vertices, press the Ctrl key as you stroke to remove Weight color in those regions. If you want the tool to remove paint by default, turn on the Invert property in the Weights property window.
If the model is in mid-pose, painting weight color or using the smooth feature (Hotkey: Shift) to blur the weight color (will automatically update the vertex positions to reflect the adjusted weights value, provided you have not exited the pose tools to use a sculpt or paint tool. (The pose is referred to as being uncommitted in this situation). For more information, see Committed vs. uncommitted poses. Otherwise, the vertices will update to reflect the new weight values the next time the joint is posed.
Use the camera navigation keys to dolly and tumble the model as you use the tool. If you accidentally miss removing any weight color on an area you do not want affected by a joint it will become obvious when using the Pose tool as some vertices will still move when the model component is deformed.
Just like other paint tools, you can adjust the Weights properties such as Size, Strength, and Mirror to suit your requirements.
The color for the joint weights can be customized in the color preferences (Windows > Preferences > Color) by adjusting the Joint Weight color.