You
can import an image into the 3D View as
an image plane as a visual guide for your sculpting and painting.
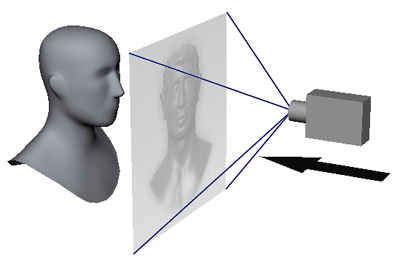
An image plane is a 2D
object (plane) attached to the viewing camera that enables the placement
of an image file into the camera’s view.
For information on importing
models from other 3D applications with their respective image planes,
see
Import using FBX.
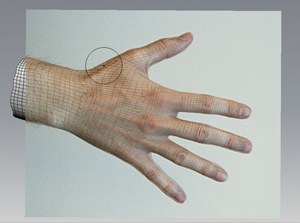
Using an image plane
is useful when you want to sculpt or paint on a model using a reference
image overlaying your work.
- Click the Object List tab.
The contents of the Object
List are displayed (cameras, lights, materials, objects,
and so on).
- In the Object List,
select the camera you want to load an image onto (or create a new
camera).
- Expand the camera item list, then click
the image plane.
The image plane properties
display in the Properties window.
- In the Properties window,
click Import.
- Using the File Browser, select
the image you want to load as an image plane and click Open.
The image appears in
the center of the 3D View in front of the model
(provided that the camera is selected and the 3D
View is set to look through it).
Edit the position, visibility,
and other properties for an image plane
- To move the image in the 3D
View, press the E key and
use the left or middle button on the mouse/stylus to either rotate
or move the image. In the Image Plane properties, edit
the Transformation properties for
the image plane by adjusting the translation, rotation, and scale
values.
- To modify the transparency of the image,
edit the Visibility property. This is
useful when you have difficulty viewing the model behind the image.
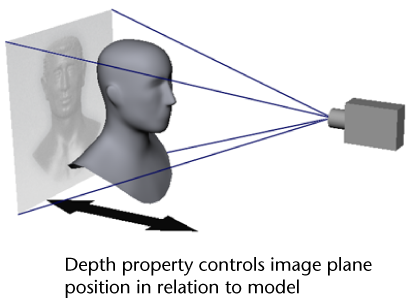
- To adjust the depth position of the image
plane so it appears either in front, behind, or intersects the model,
adjust the Depth property.
- To move the camera and image plane together
simultaneously, press the Ctrl + Alt keys while
performing any camera transformations.
- You can lock the camera’s transformation
controls to prevent you from moving the camera by selecting the
camera node associated with the image plane in the Object
List and turning on the Lock Pan, Lock Rotate,
and Lock Zoom properties.
TipYou can also use
an image plane to temporarily import an image into the 3D
View to sample color values using the Color
Picker. Set the Translation and Scale properties
to display the image in a convenient location of the view.


