Use Record mode to record an entire cut to a VTR. Record mode overwrites the entire contents of the tape (including timecode). To use Record mode, you must set the VTR timecode to Preset or Auto timecode.
You do not have to pre-stripe the tape with timecode when using Record mode.
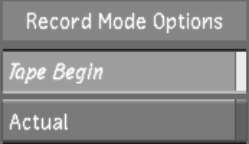
You have the option of specifying a start timecode value, and including leader black and colour bars. Leader black and colour bars are added to the start of the program (on tape).
At least 10 seconds of black are always recorded to the video tape before the footage. Also, footage always starts on the minute. Lustre pads the leader with additional black and colour bars to ensure that the video always begins on the minute. The following examples illustrate how this is calculated.
To begin, Lustre always records 10 seconds of black from 00:59:00:00 to 00:59:10:00 (this length is locked and is always recorded).
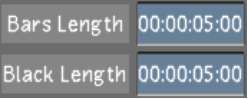
After the initial black, colour bars are recorded from 00:59:10:00 to 00:59:45:00 (the Minimum Colourbar Length of 15 seconds is surpassed).
Finally, black is recorded from 00:59:45:00 to 01:00:00:00 (the Black Length value of 15 seconds must be respected) and the video material begins exactly at 01:00:00:00.
To begin, Lustre always records 10 seconds of black from 00:59:30:00 to 00:59:40:00 (this length is locked and is always recorded).
After the initial black, colour bars are recorded from 00:59:40:00 to 01:00:50:00 (the Minimum Colourbar Length of 20 seconds is surpassed).
Finally, black is recorded from 01:00:50:00 to 01:01:00:00 (the Black Length value of 10 seconds must be respected) and the video material begins exactly at 01:01:00:00.
In this case, the Minimum Colourbar Length and the Black Length (which combine to add up to 30 seconds) does not fit into the gap between 00:59:40:00 and 01:00:00:00 (20 seconds). Because video must always start on the minute, additional colour bars are added so that the material starts at the next minute.
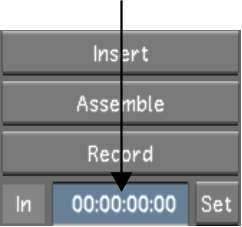
To record to a VTR in Record mode:
| Click: | To start the playout: |
|---|---|
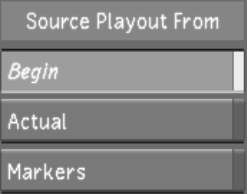
| Begin | From the start of the current timeline. |
| Actual | At the current frame. |
| Markers | At the in marker in the timeline, and stop at the out marker. |


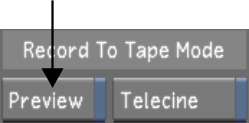
With Preview enabled, your footage is played out in the Player, but nothing is written to tape.