You
can assign Point Trackers to, or unassign Point Trackers from, geometries
at any time after you create them.
You can assign a Point
Tracker to the axis of any geometry when you want to animate the
entire geometry with or without changing its shape. You can also
assign a Point Tracker to a vertex of a geometry when you want part of
the edge of the geometry to change as it tracks a moving element
in the shot. However, if you want to assign Point Trackers to all
the vertices in a geometry, use Track Shape. See
Animating the Shape of Geometries with the Point Tracker.
To assign a Point Tracker to a geometry:
- In the Secondaries menu, activate the
secondary layer button that contains the geometry you want to track.
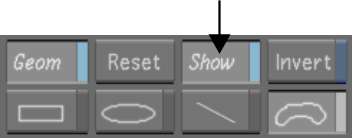
- Enable Show.
The geometry is displayed
in the Player.
- Do one of the following:
- Add a new Point Tracker.
- Click the + or - button to select a Point
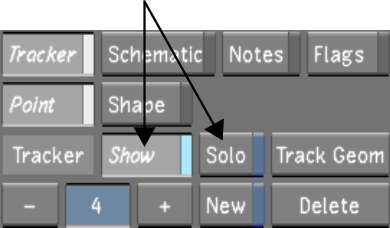
Tracker from the Tracker list. Make sure the tracker is set to On
and is in Solo mode.
The current Point Tracker
is displayed in the Player.
- Enable Assign.
- In the Player, do one of the following:
- To animate the entire geometry without
changing its shape, click the geometry's axis.
- To animate a single vertex in a geometry,
click the vertex.
The Point Tracker is
assigned to the geometry's axis or vertex.
NoteYou cannot assign
a Point Tracker to more than one point on a geometry. If the tracker
is already assigned to a vertex or axis on the geometry, you must
unassign it.
To unassign a Point Tracker from a geometry:
- Select the shot that contains the tracking
data.
- In the Secondaries menu, enable Show.
The geometry is displayed
in the Player.
- Click the + or - button to select a Point
Tracker from the Tracker list. Make sure the tracker is set to On
and is in Solo mode.
The current tracker is
displayed in the Player.
- Enable Unassign and then click the vertex
or axis to which you assigned the tracker.
The Point Tracker is
unassigned to the vertex but remains in the Tracker list.


