Use the DeGrain command
to remove grain from a clip. DeGrain applies a noise reduction algorithm
that consists of two filters:
- An RGB-averaging filter that removes
noise and softens the image.
- An RGB-sharpening filter that adaptively
restores the sharp details of an image.
When you remove grain
from a clip, you start with the default values for these filters
and adjust them to produce the degrained result that you need.
Because grain varies
according to film stock, lighting conditions, colour, and resolution,
it is advisable to create a DeGrain setup for each clip from which
you want to remove grain.
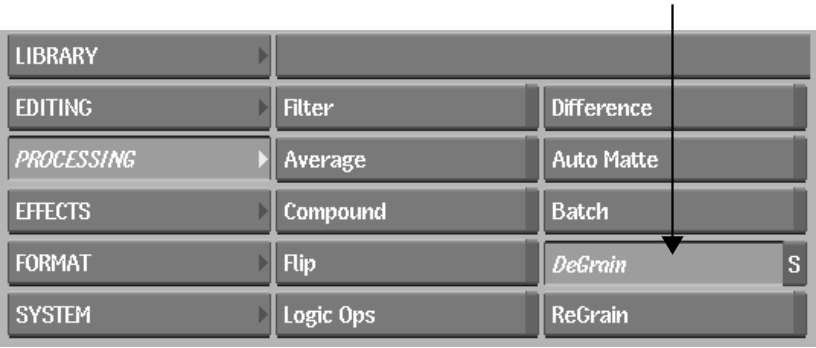
To access DeGrain from the Desktop:
- From the Main menu,
click Processing, then click DeGrain.
- Select the clip from which you want to
remove grain, and then select a destination reel.
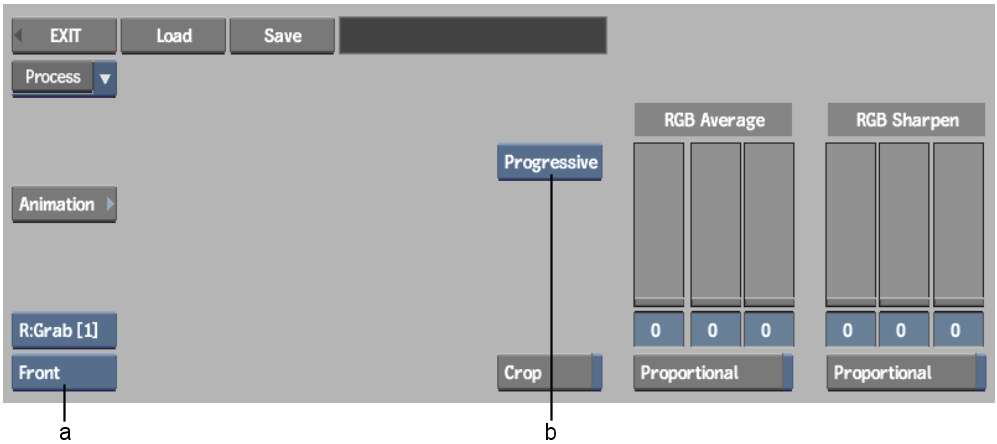
The DeGrain menu appears.
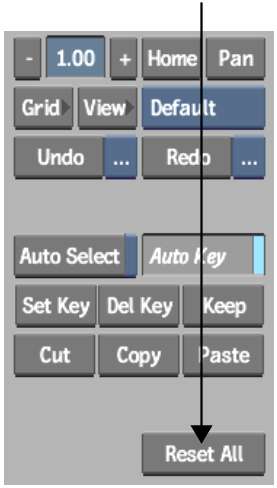
- Optional: Click Reset All, and then Confirm,
to reset DeGrain to the default settings.
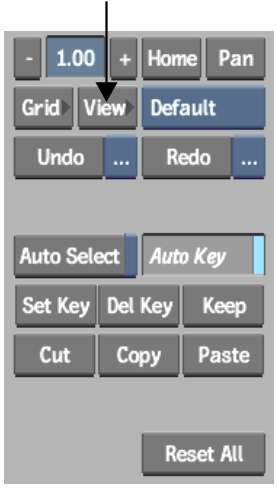
- By default, the result clip appears.
You can also view the front clip by selecting Front from the View
box.
- To view the front and result clips simultaneously,
and to speed up interactivity while defining the DeGrain parameters,
enable the Crop button and use the crop box. See
Defining the DeGrain and ReGrain Area.
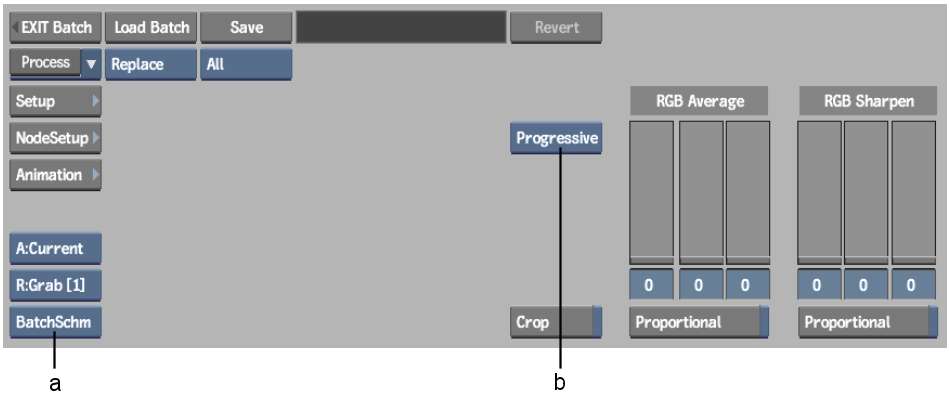
To access DeGrain from Batch:
- Drag a DeGrain node to the Batch desktop.
- Parent the output from which you want
to remove grain to the front clip input socket of the DeGrain node.
- Select the DeGrain node.
The DeGrain menu appears.
- Press Alt+2 to
select the 2-Up viewport layout.
With the viewport on
the left set to display the front clip and the viewport on the right
set to display the result clip, you can better track the effects
of your changes against the front clip.
- You can also use the crop box to view
the front and results clips simultaneously, and to speed up interactivity.
See
Defining the DeGrain and ReGrain Area.
- Use the reference buffer to store intermediate
results as you set the grain removal parameters. See
Storing Reference Frames in the Reference Buffer.
To remove grain from a clip:
- Select an option from the Render Method
box.
| Select: |
To: |
| Progressive |
Remove grain from frame-based material, including film-based
material transferred either to PAL without field interpolation,
or to 30 fps field-based formats, provided 2:3 sequence has been
removed.
|
| Interlaced |
Remove grain from field-based video, thus compensating
for temporal jitter between fields in each frame.
|
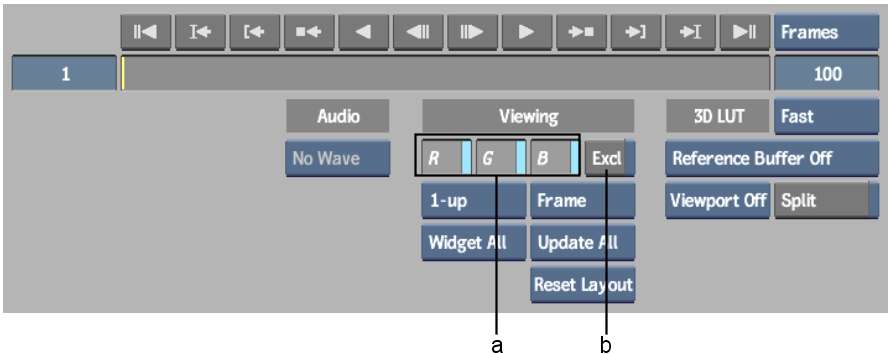
- Enable View.
- In the View menu, use the R, G, and B
buttons to control the display of the corresponding channels in
the image window. You can also use the corresponding hotkeys (Shift+R, Shift+G,
or Shift+B) in
the DeGrain menu. Enable Excl and then click R, G, or B to view
each channel exclusively as a greyscale representation. You can
also use the Shift+X hotkey
combination in the DeGrain menu to enable Excl. Use Shift+Z to restore the RGB view.
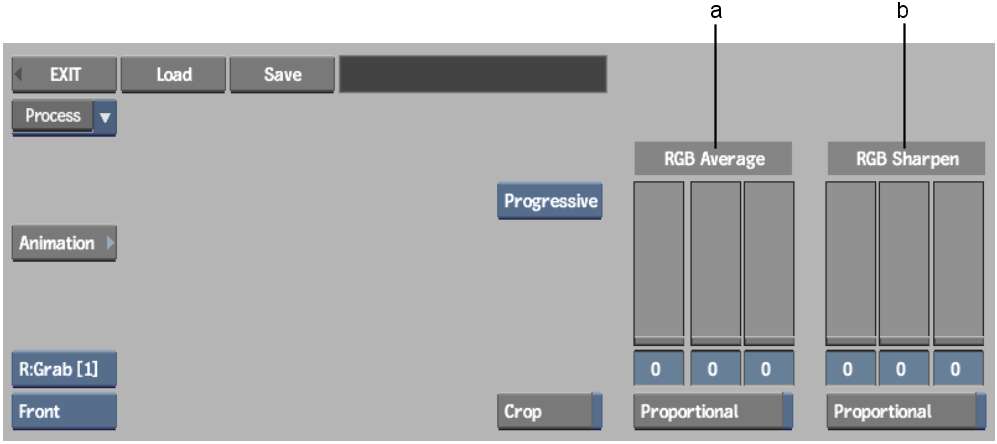
- Set the RGB Average Blur radius to remove
the grain from the clip:
- Enable Proportional and drag the sliders
in the RGB Average group to average RGB globally. This is usually
a good initial step.
- Disable Proportional and adjust the R,
G, and B sliders independently. Because film grain is not usually
uniform through the R, G, and B channels, this is often a required
step for fine-tuning the RGB Average.
- Set the RGB Adaptive Sharpness radius
to restore sharpness where it is needed:
- Enable Proportional and drag the sliders
in the RGB Sharpness group to set RGB sharpness globally.
- Disable Proportional and adjust the R,
G, and B sliders independently.
- When you are satisfied with the result,
click Process to remove grain from the clip or continue building your processing pipeline,
if you are in Batch.