Show in Contents

Add to Favorites

Home: Smoke

Adding Grain Using a Custom or Monochrome Grain Signature

Adding and Removing Film Grain

Analysing the Grain in the Back Clip

Matching Grain between Clips
If
you removed grain from a clip, for example, to perform rotoscoping,
and you want to restore the original film grain, you can do so by
analysing the grain signature of the original clip and applying
it to the retouched clip.
Another grain-matching scenario is where you
want to mix film clips that have different grain signatures. In
this case, remove the grain from one of the clips and then analyse
the grain of the other to apply it to the degrained clip.
To match grain between clips, you use the Front
Back Matte input mode. Load the clip to which you want to add grain
as the front clip, and the clip from which you want to analyse grain
as the back clip.
When you match grain, you must also select a matte clip.
See
Adding Grain with a Matte.
If you do not want to use the matte, simply turn it off.
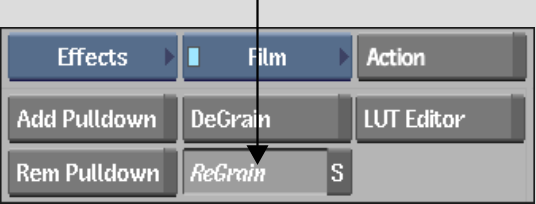
To
access ReGrain with Front Back Matte from the EditDesk:
- From the A/V Tools box,
select and enable Film, then click ReGrain.
- From
the Input Mode box that appears, select Front Back Matte, and then do
the following:
- Select
the clip to which you want to add grain as the front clip.
- Select
the clip from which you want to analyse the grain signature to match
as the back clip.
- If
you want to add grain using a matte, select the matte that you want
to use. See
Adding Grain with a Matte.
If you do not want to use a matte, select any clip and then turn
the matte off.
The ReGrain menu appears.
- Optional:
Click Reset All, and then Confirm to reset ReGrain to the default settings.
- By
default, the result clip appears. You can also view the front, back,
and matte clips by selecting the corresponding option from the View
box.
- To
view the front and result clips simultaneously, and to speed up
interactivity while defining the ReGrain parameters, use the crop
box. See
Defining the DeGrain and ReGrain Area.
You are now ready to analyse the grain in the
back clip. See
Analysing the Grain in the Back Clip.