Show in Contents

Add to Favorites

Home: Lustre

Using the Point Tracker

Repositioning Images

Setting Rendering Quality

Animating Reposition Values
Use
the Animation controls in conjunction with the Reposition tools
to animate the position, rotation, scaling, and aspect ratio of
your shots. You can use this feature to simulate camera movement,
which is useful when you want to make a still shot more dynamic.
You can animate manually or using Autokey.
To animate reposition values manually:
- Select the shot to modify.
- Click Image, and then click Reposition
to display the Reposition menu.
- Enable Racking or Reposition.
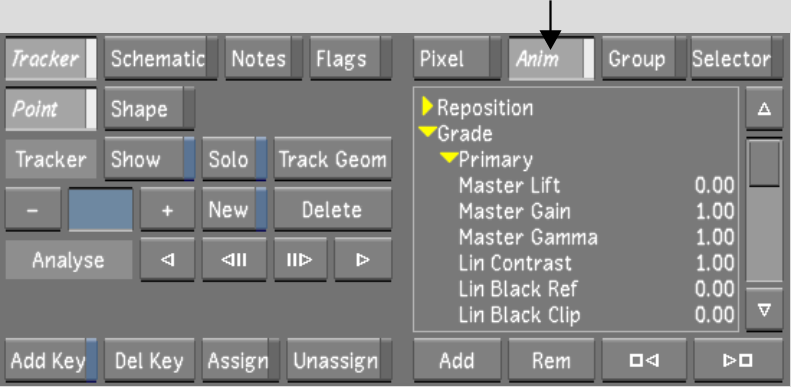
- Click Anim to display the Animation controls.
- In the channel hierarchy, select the
Reposition directory.
- Move to the first frame of the shot,
click Add to add a keyframe, and then adjust either the rotation,
scaling, aspect ratio, horizontal or vertical position as needed.
- Move to the last frame of the animation.
- Set the reposition values and then click
Add.
Keyframes are added to
the selected channels. The values in between the keyframes are interpolated
using Bezier interpolation.
- Scrub to view the animation.
- To modify the animation curve, use the
tools in the Animation menu. See
Accessing the Channel Editor.
To animate position and scaling with Autokey:
- Select the shot to modify.
- Click Image, and then click Reposition
to display the Reposition menu.
- Enable Racking or Reposition.
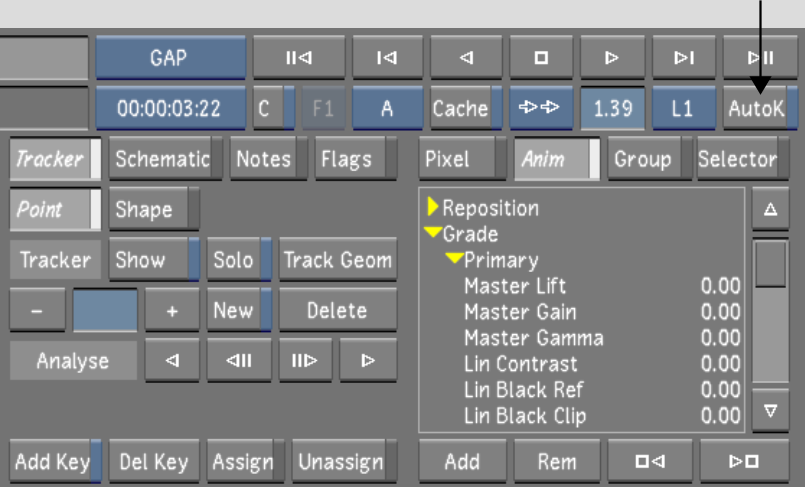
- Enable AutoK (Autokey).
- Move to the first frame of the shot and
then adjust the scaling or the positioning as needed.
Keyframes are automatically
added at the current frame to the channel parameter you change.
- Move to the last frame of the animation.
- Set the scaling and the position.
Keyframes are added to
the adjusted channels. The values in between the keyframes are interpolated
using Bezier interpolation.
- Scrub to view the animation.
- To modify the animation curve, use the
tools in the Animation menu. See
Accessing the Channel Editor.


