Show in Contents

Add to Favorites

Home: Lustre

Rendering Head and Tail Frames

Rendering Shots

Setting Colour Space Options

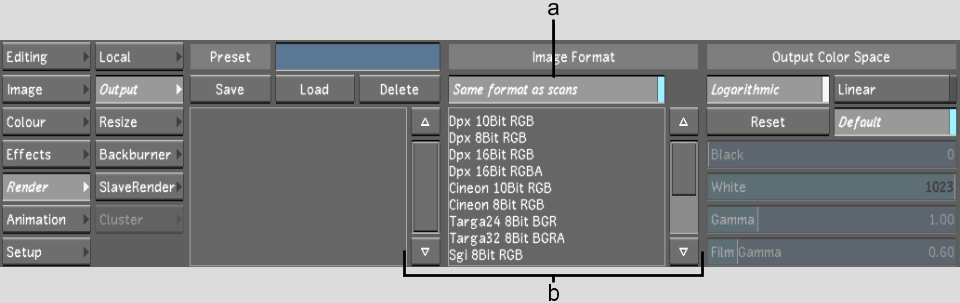
Specifying the Output Format
of the Render Files
You
can render your shots to the same file format as the original footage
or select a different one. By default, shots are rendered to the
same format as the original footage. Currently supported formats
are DPX and Cineon at 10 and 8 bits per channel, TIFF at 8 and 16
bits per channel, and TARGA®, SGI, and BMP at 8 bits per channel.
NoteThe Lustre HD
Station does not support bit depths greater than 10-bit, input resolutions
greater than 2K, or output resolutions greater than 1920x1080.
To specify the output format:
- In the Main menu, click Render and then
click Output.
The Render Output menu
appears.
- Do one of the following:
- To render to the same format as the originals,
enable Same as Input.
- To render to another format, disable
Same as Input.
- If you are rendering to another format,
select the format in the list by highlighting it.