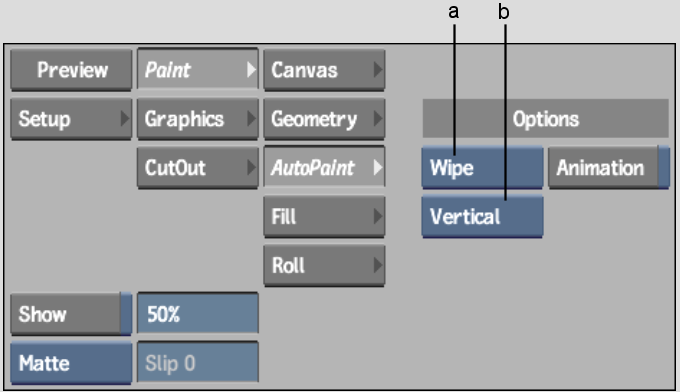
Use Wipe mode to automatically apply paint strokes from left to right, top to bottom, or diagonally across the entire canvas. You can use a filter or any of the Special Effects media except Warp, Drag, and Smear. The size of the brush determines the number of strokes applied. Use a small brush to apply several strokes or a large brush to apply fewer strokes.
To wipe the canvas in AutoPaint:
The Wipe menu appears.


(a) AutoPaint Mode box (b) Wipe Mode box
| Select: | To: |
|---|---|
| Diagonal | Apply diagonal strokes. |
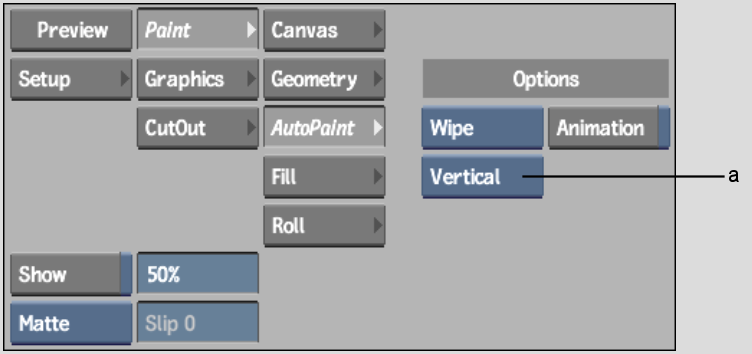
| Vertical | Apply strokes from top to bottom. |
| Horizontal | Apply strokes from left to right. |


(a) Wipe Mode box
If the Channel Editor is not visible, swipe the bar below the menu.
You can animate all brush attributes as well as the current colour. For information on using the Channel Editor, see Creating Animations.
Original image |
After using the Wipe command with Jitter attribute at 35% and Colour attribute mode set to Front |