All objects, except the fill object, can have a gradient. You can edit a gradient or apply a gradient to an object that does not have one. A selected object with a gradient displays a gradient control bar that you can use to edit the orientation of the gradient.
To edit a colour gradient:


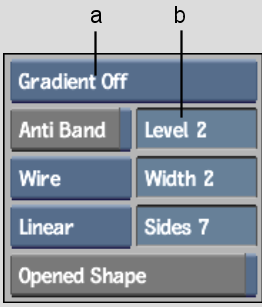
(a) Gradient box (b) Noise Level field
| Select: | To: |
|---|---|
| Rectangular Gradient | Use a rectangular gradient in which colour changes from top to bottom. |
| Circular Gradient | Use a circular gradient in which colour changes from centre to edge. |
| Gradient Off | Turn off the gradient and use a solid colour. |
Banding normally appears only if you are working at 8-bit colour depth and if the gradient that you apply is stretched.
Using the Gradient Control Bar
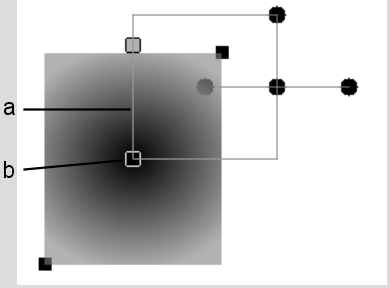
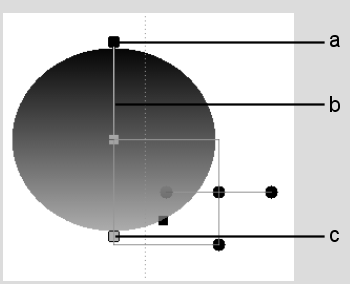
When you select an object with a gradient, Paint displays a gradient control bar in addition to the object transformation box. The gradient control bar has two handles at each end that show the colours of the gradient. In a rectangular gradient, the bar also indicates the direction of the gradient.


(a) Gradient control bar (b) Centre point of gradient


(a) Start point of the gradient (b) Gradient control bar (c) End point of the gradient
To use the gradient control bar:
Paint displays the transformation box and the gradient bar.
In a rectangular gradient, this affects the gradient orientation. For example, the default orientation for a rectangular gradient is top to bottom. If you drag one of the handles left or right, you change the orientation to diagonal. If you drag the handles so the gradient bar is horizontal, you get a rectangular gradient with the colours blended from side to side.
If you select the centre colour handle in a circular gradient, you can move the gradient's centre inside the object or even outside it.