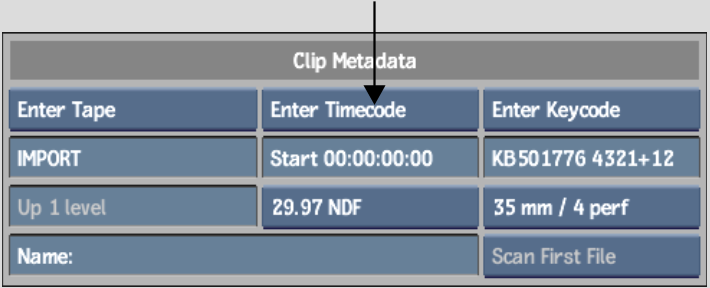
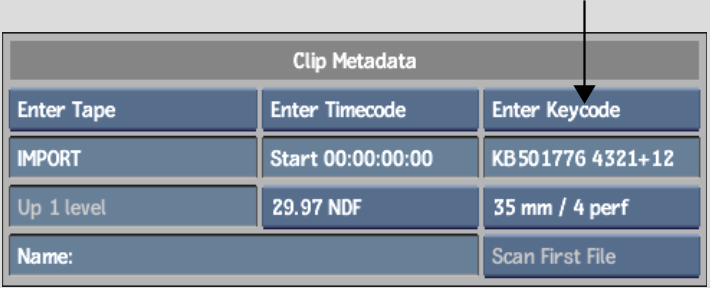
When importing sequences composed of any type of image file format, you can manually set the timecode, keycode, and frame code mode for the resulting clip. By setting keycode you also set the film gauge used for the clip. The film gauge defines how the keycode data is calculated.
To manually assign timecode and keycode data to image files on import:


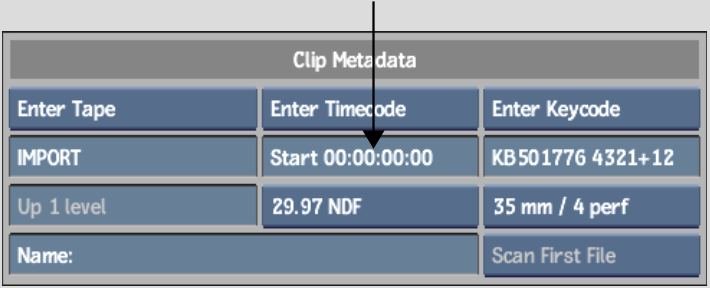
Any embedded timecode data is ignored and replaced with the value that you enter directly in the Timecode field.


After entering a timecode value and closing the timecode calculator, the value appears in the Timecode field.


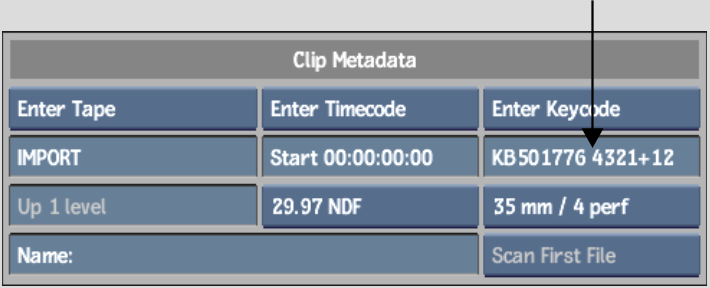
Any embedded keycode data is ignored and replaced with the value that you enter directly in the Keycode field.


After entering a keycode value and closing the keycode calculator, the value appears in the Keycode field. As well, the film gauge that you set in the keycode calculator is inherited by the Film Gauge box in the Image Import menu.
Your new timecode and keycode values are set.