To determine which colour model will give you the best key, try creating a sample matte for each model. Each model operates independently. When you switch from one model to another, the values you set are retained, so you can easily compare the results.
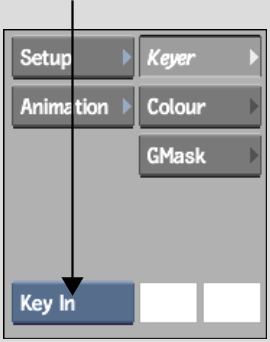
To create a sample matte for each colour:


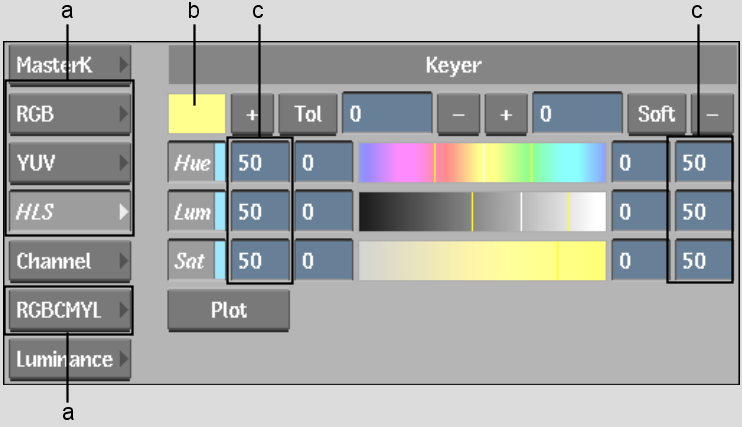
(a) Colour models (b) Average Colour pot (c) Softness values
The softness for each model is set automatically to 50, which helps you to quickly gauge the model that will create the best key for your clip.
The average colour sampled by the colour picker appears in the Average Colour pot. In each channel of the colour model, the channel value of the average colour appears as a white line. All pixels in the key-in clip with the selected colour value are keyed out.
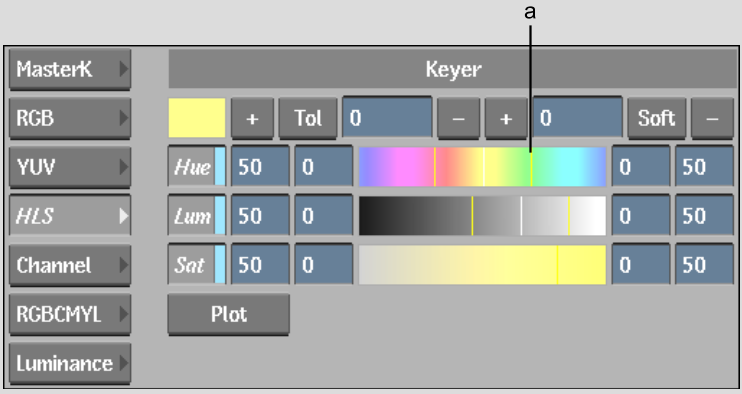
The yellow lines in the colour model channels indicate the limits of the softness range. The pixels in the front clip with colour values at the centre of the range are black (transparent) in the matte. As you move away from the centre, the pixels become more opaque.


(a) Softness range


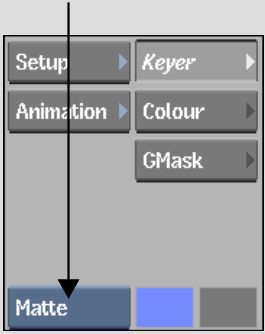
The matte for the selected colour model appears in the image window.