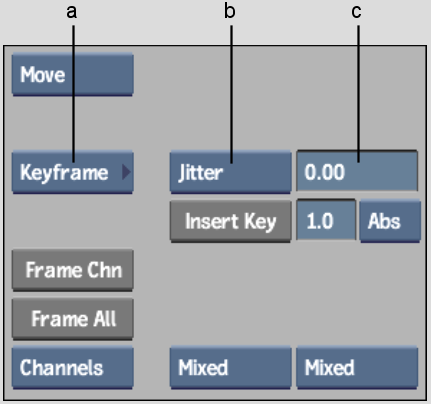
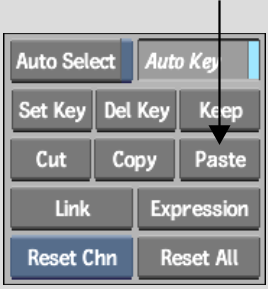
Use the Jitter option to remove the jitter from a clip while retaining the overall motion. The Stabilizer calculates the difference between an average applied to the channel by using the current Over value and the original tracking data. Applying this curve leaves only the jitter values as keyframes. Copying these curves can also be useful if you want to extract the jitter values to apply to another clip.
The Jitter option removes jitter in a clip on both the X and Y axes simultaneously, and averages the pan over time so that it appears even. Jitter control offers more flexibility than Fixed X and Fixed Y, which remove motion in one direction only. Use Fixed X and Fixed Y in simple situations, or to produce a result quickly.
Removing jitter is a process of trial and error. Try different Over values until you find one that yields good results. As a general rule, start with a large Over value over n frames to remove slow jitter, and start with a small Over value to remove fast jitter.
To remove jitter and keep overall motion:
The Shift curves turn white when the Shift channel is selected.


(a) Animation Controls box (b) Curve option box (c) Curve Value field
The transformation is applied to the curves. The curves show the amount of motion that the Stabilizer will remove. They should wrap around the zero point and should not be entirely flat; otherwise, the Stabilizer will not remove any jitter.


