Use the Colour Warper to modify the colour content in your clips. You can manipulate colour content with intuitive controls that provide precise colour correction, and view histograms that help you visualize your image's colours. You can also output a matte corresponding to selected colours.
You can access the Colour Warper as a node that you drag and drop into the Batch process tree or the Modular Keyer's processing pipeline. Access the Colour Warper from the Modular Keyer to remove colour spill, or access it from Batch to modify the colour content of your clips.
You can also access the Colour Warper from the Colour Corrector module. When you access the Colour Warper from the Colour Corrector, they work in parallel—you can colour correct clips with the Colour Corrector and Colour Warper, and then compare the results. Each setup is saved separately.
You should be familiar with using the Batch schematic and the Modular Keyer processing pipelines before using the Colour Warper if you access it from either of these places. See Batch Processing and Modular Keyer.
To add a Colour Warper node in Batch:
To add a Colour Warper node in the Modular Keyer:
To access the Colour Warper from the Colour Corrector:


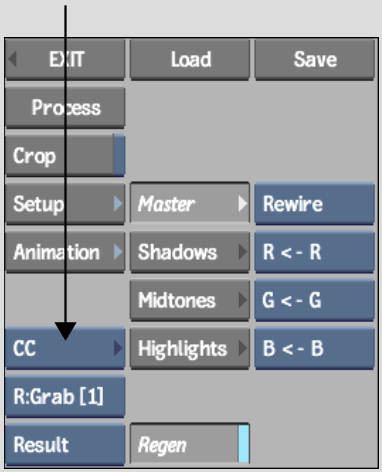
The Colour Warper menu appears.
You can access the following menus from the Colour Warper menu.
Basics menuColour correct your clips. You can adjust shadows, midtones, and highlights, and control black and white levels, hue, and saturation. You can also perform colour warping, colour suppression, and colour saturation on a limited range of colour as well as adjust gamma and luminance curves.
Selective menu(part of Basics menu) Define colour ranges using softness and tolerance to create a matte and apply colour correction to a selected region.
Subsetups menuStore, compare, and share Colour Warper subsetups.
Setup menuCustomize your work environment by adjusting vectorscope and hue cube settings, updating colour information, cropping the area you want to colour correct, and inverting a matte.