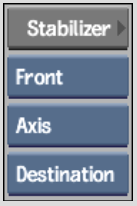
Use the Stabilizer controls in the Warp menu (if you are warping) or in the Morph menu (if you are morphing) to select the clip you want to track, the mesh you want to apply the tracking data to, and the tracking mode.


| Select: | To: |
|---|---|
| Front | Track the front clip. |
| Back | Track the back clip. |
| Axis | Apply the tracking data to the axis of the mesh. You can use one or two trackers in the Stabilizer. |
| Vertices | Apply the tracking data to the mesh control points (vertices). You must select the control points you want to track before entering the Stabilizer. You can track up to 1000 control points. Note that tracking by vertices sets a shape keyframe at every frame of the clip. |
| Source | Apply the tracking data to the source mesh of the selected clip. |
| Destination | Apply the tracking data to the destination mesh of the
selected clip. This option can be useful if front and back destination meshes are different. |
See Stabilizing.
To make the mesh follow the movement in the clip without changing shape, apply the tracking data to the mesh axis.
To track by axis:
The Stabilizer menu appears.
To make the mesh follow the movement and shape change in the clip, apply the tracking data to the mesh vertices.
To track by vertices:
The Stabilizer menu appears. A tracker appears on each vertex that you selected. The reference frame is the frame from which you opened the Stabilizer.
For example, disable a problem tracker and re-analyse, as described in Tracking Difficult Shots and Correcting Errors.
Copying and Pasting Tracking Data
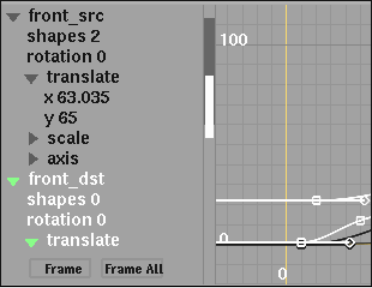
You can copy and paste tracking data from one mesh to another using the Channel Editor. For example, if tracking was done using Axis, you can copy the translation of the front source mesh and apply it to the back source mesh.
To copy translation data:
The translation channels containing the tracking data from the front source mesh are pasted into the front destination mesh.


If tracking was done using Vertices, you can copy the shape animation of the front source mesh and apply it to the front destination mesh.
Example: To copy shape animation data:
The shapes channel containing the tracking data from the front source mesh is pasted into the front destination mesh.