


Publishing a Clip Using the Publish Tool
When you publish a clip, the media is written to the destination on the shared storage and another clip is created that points to the newly created media on the shared storage. You can use the Publish tool to maintain soft edits. Three publishing options are available: Complex, Simple, and Flatten. When you publish soft-imported media, you can also decide whether or not to link directly to the source media located on the same filesystem. If you do not link to the source media, a new copy of the files is created, which requires more space on the filesystem.
To publish a clip:
The Publish controls appear.


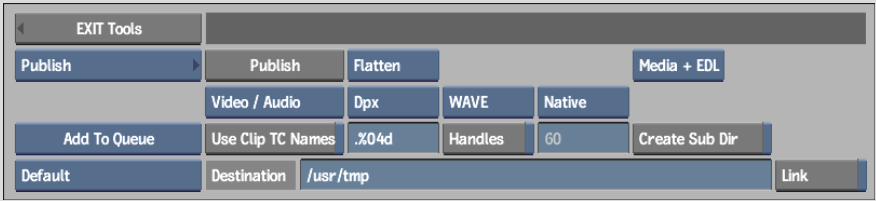
The displayed options differ depending on the publish type selected. See About the Publish Tool.
The clip is published to the selected library as follows:
An icon indicating the file type appears in the lower-right corner of the clip. If the same file exists, you are asked if you want to overwrite it or abort the process.
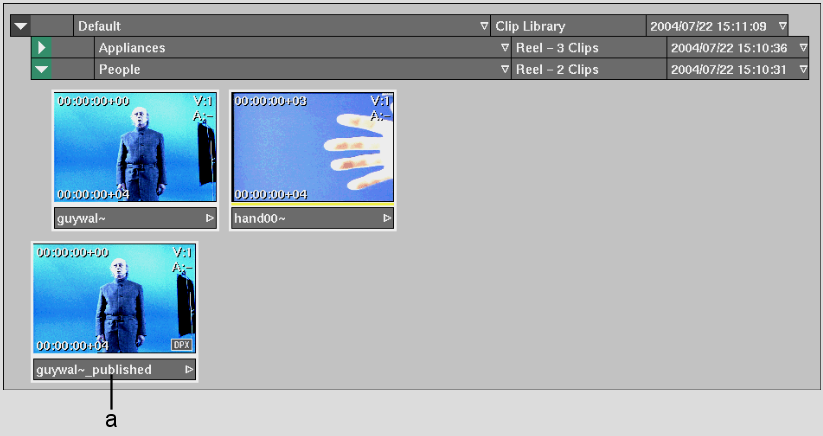
(a) Published clip
Images courtesy of Behavior Communications Inc.