Drawing Splines


Draw single-point, open, or closed splines around the features you want to warp or morph at the beginning of the effect.

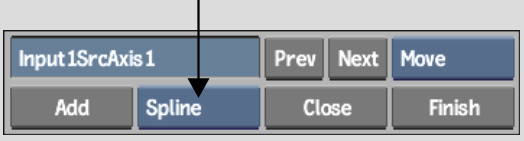
To draw a closed spline:

  1. Go to the frame where you want the effect to begin.
  2. Select Spline from the Node box.

    Show small imageShow large image

  3. If you are creating a morph, select the input where you want to draw the spline. To add a spline to Input1, for example, select Input 1 in the Morph menu's Input box.

    Show small imageShow large image

    NoteWhen creating a morph, a common strategy is to create the spline on just one input, and then copy it to the other. This has important advantages over creating splines on both inputs independently. See Toggling Spline Nodes from One Input to Another.
  4. Click Add (or press N).
  5. Do any of the following:
  6. To close the spline, do one of the following:

    When the spline is closed, its vertices and tangents can then be edited.

    Show small imageShow large image

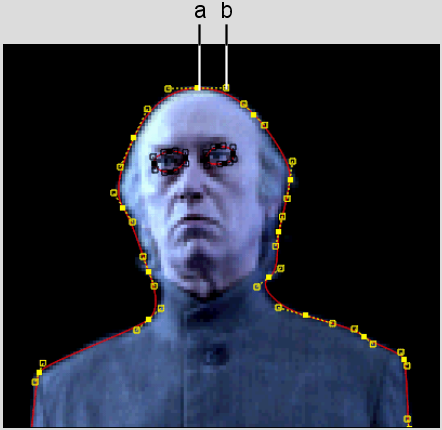
    (a) Vertex  (b) Tangent  

    Image courtesy of Behavior Communications Inc.

    If you want to view the nodes that are added with each new spline, select DistortSchm from the View box or press the ~ key. You can use Distort's schematic to access a menu, create parent-child relationships between splines and axes, delete splines, link Input1 and Input2 splines to create morphs, as well as perform other organizational tasks. See Using Distort's Schematic.

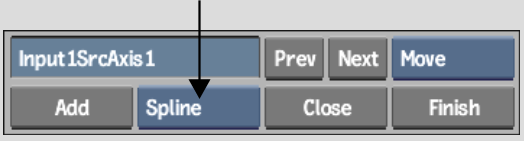
To draw a single-point or open spline:

  1. Go to the frame where you want the effect to begin.
  2. Select Spline from the Node box.

    Show small imageShow large image

  3. If you are creating a morph, select the input where you want to draw the spline. To add a spline to Input1, for example, select Input 1 in the Morph menu's Input box.

    Show small imageShow large image

    NoteWhen creating a morph, a common strategy is to create the spline on just one input, and then copy it to the other. This has important advantages over creating splines on both inputs independently. See Toggling Spline Nodes from One Input to Another.
  4. Click Add (or press N).
  5. Do any of the following:
  6. To finish the spline, do one of the following:

    When the spline is finished, its vertices and tangents can then be edited.

    If you want to view the nodes that are added with each new spline, select DistortSchm from the View box or press the ~ key. You can use Distort's schematic to access a menu, create parent-child relationships between splines and axes, delete splines, link Input1 and Input2 splines to create morphs, as well as perform other organizational tasks. See Using Distort's Schematic.

To show and hide splines:

  1. From the Warp or Morph menu in the Distort module, do one of the following:
    NoteTo toggle between splines drawn on the Input1 and Input2 clip, select Input1 or Input2 from the Input box.

To colour splines:

  1. Click the Source colour pot or the Destination colour pot, and use the colour picker that appears. See Picking Colours.

    The colour you pick is applied to all source or destination splines accordingly.