


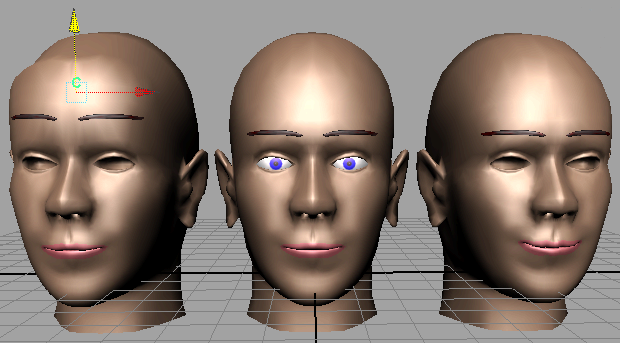
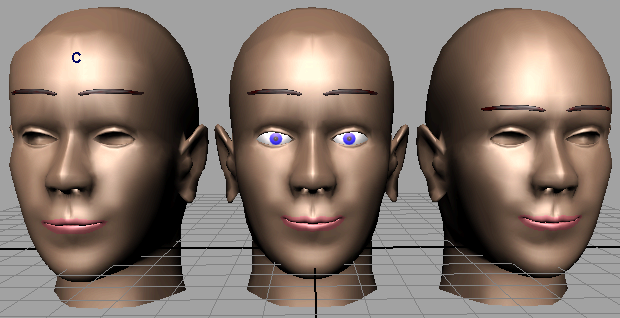
In the next steps, you duplicate the face again and reshape the duplicate into a new facial expression. You then add the new face to the blend shape node to create another slider in the Blend Shape Editor.
To create another facial expression

This displays only the selected object (raisedBrow) in the views. This is necessary to avoid selecting unwanted vertices in the next steps. The view’s label indicates isolate is turned on.
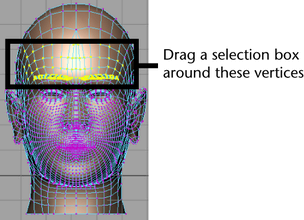
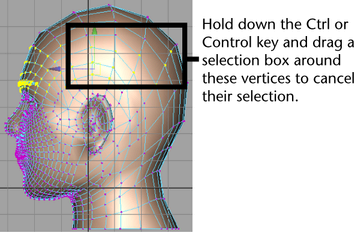
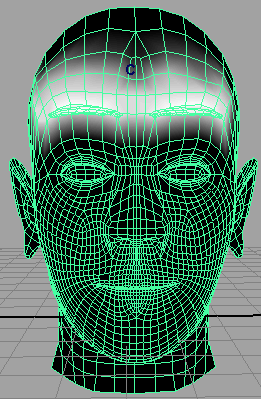
For these vertices, you need to select the vertices by dragging a selection box rather than by using the Paint Selection Tool. The eyebrows have vertices that lie behind its outer surface. The Paint Selection Tool selects only vertices at the outer surface. Dragging a selection box selects all vertices in the boxed region, including vertices that lie behind the outer surface.
By turning off these menu selections, Maya displays all objects in the views again.
To add the new target object to the blend shape
 . In the options window, turn on Specify Node and enter blendShape in the BlendShape node box. Click the Apply and Close button.
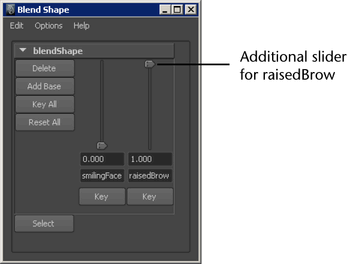
When you created the blend shape for the smile, Maya created a node named blendShape that contains the slider attributes that adjust the blend into the smilingFace target. The Add operation creates a blend shape for the raisedBrow and adds it to the blendShape node. This adds a slider to the node’s Blend Shape editor for adjusting the raised brow deformations.
After you create a blend shape, you can optionally hide or delete a target object (in this lesson, smilingFace and raisedBrow). If you delete a target, you improve Maya processing time but lose the capability to manipulate the cluster handle. For versatility, many animators hide the target rather than delete it. Hiding the target is necessary when you render the scene. It is also useful when you want to unclutter the scene view.