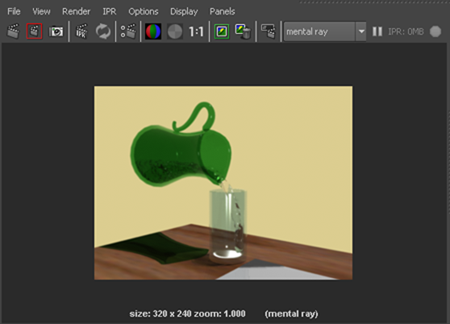
Now that you have assigned shaders to the objects in the scene, you can use the mental ray for Maya renderer to render selected frames of your simulation.
To render a simulated frame
- In the timeline, go to frame 111.
You will render this frame, where the output mesh pours into the glass.
- In the Render View, select .
The window appears.
- From the list, select .
TipIf mental ray does not appear under the list of renderers, you must load the mental ray plug-in via the . Select and select for the Mayatomr.mll plug-in.
- Click the tab and set the following:
- In the section, select from the list.
- In the section, select from the list.
- Click the tab, and set the following:
- From the list, select .
- In the section, turn on .
- Set to 4.
- Click to close the window.
- To render the current frame, in the Render View, select .
The current frame appears as a rendered image in the Render View.
You can continue to make changes to the render settings, change the renderCam view, or select another simulated frame to render.
After you are satisfied with your render settings, you can render the frame as a full-size image.
To render a full-size image
- In the Render View, select .
- Click the tab and in the section, select from the list.
- From the menu set, select .
 Except where otherwise noted, this work is licensed under a Creative Commons Attribution-NonCommercial-ShareAlike 3.0 Unported License


 Except where otherwise noted, this work is licensed under a Creative Commons Attribution-NonCommercial-ShareAlike 3.0 Unported License