Now that you’ve output all the UV meshes, you can import them into an external image editor to create a texture.
Once you’ve created associated texture files, you can apply them to your model. For the purposes of this tutorial, textures have been provided for you in the sourceimages folder.
To apply the texture for the torso
 -click the torso and select Assign New Material from the pop-up menu.
The Assign New Material window appears.

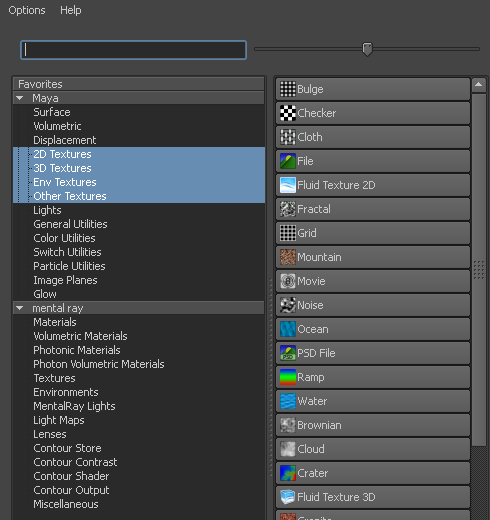
The Create Render Node window appears.
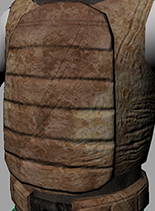
The body armor texture is applied to the soldier’s body. If the texture does not appear in the scene, press 6.
 ). Slowly unfold the UVs until they roughly match the details of the texture as shown below.
If the texture is not aligned or sized correctly you can adjust the UVs in the UV Texture Editor using the Toolbox.
 -click the torso and select Object Mode from the marking menu.
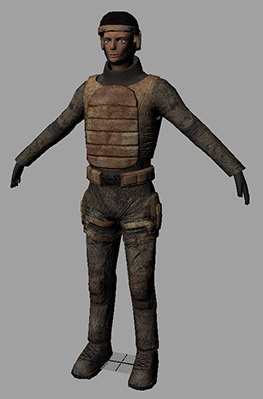
Normal maps appear on the soldier’s chest. Normal maps give the flat portions of the texture the illusion of 3D bumps.
Now you can repeat the process for the other body parts by applying the following textures:
| Appendage | Material node name | Texture filename | Normals filename |
|---|---|---|---|
| Left Arm | Mat_Arm | soldier_arm.tif | soldier_arm_normals.tif |
| Right Arm | Mat_Arm (reuse from above by using Assign Existing Material). | soldier_arm.tif | soldier_arm_normals.tif |
| Legs | Mat_Legs | soldier_legs.tif | soldier_legs_normals.tif |
| Left Foot | Mat_Feet | soldier_boot.tif | soldier_boot_normals.tif |
| Right Foot | Mat_Feet (reuse from above by using Assign Existing Material). | soldier_boot.tif | soldier_boot_normals.tif |
| Head | Mat_Head | soldier_head.tif | soldier_head_normals.tif |
| Eye | Mat_Eye | soldier_eye.tif | none |
 Except where otherwise noted, this work is licensed under a Creative Commons Attribution-NonCommercial-ShareAlike 3.0 Unported License


 ) in the