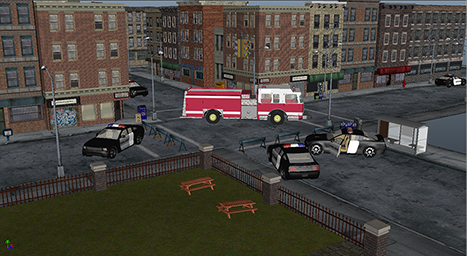
To finish dressing the scene you can import (or reference) a number of other assets located in the Assets directory. For example, you could:
Notice that assets can range from very simple objects (trashbags, trashcans), to collections of objects (the park), to complex objects with moving parts (the police car), yet all of them are treated as single black box asset nodes in the scene each with a single interface. You could take this further by placing all similar objects (all trash bags and trash cans for example) into a single asset.

You can now batch render the scene to see your finished product.
 -clicking them and selecting Reload Proxy As > original from the marking menu.
 ).
).
Maya batch renders the scene. This may take a few minutes. You can monitor the progress in the Status Line.
When the batch render is complete, you can view the sequence by selecting File > View Sequence, and then opening the first file of the sequence (it has an extension of .001). Maya then plays back the sequence of rendered images showing you the final animation.

 Except where otherwise noted, this work is licensed under a Creative Commons Attribution-NonCommercial-ShareAlike 3.0 Unported License