Sometimes you only need to unfold a UV mesh in one direction. This is especially useful when there is only a single seam.
 -click the arm and select Assign Existing Material > checker_pattern.
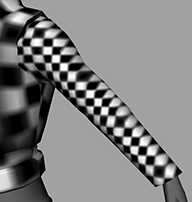
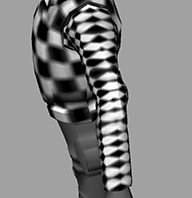 -click the arm and select Edge from the marking menu.
 -click the arm and select UV from the marking menu.
 ).
).
The UVs rotate so the arm in the UV Texture Editor is vertical.
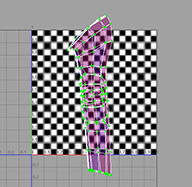
 -select one UV at the top of the arm’s bicep and another UV at the tip of the soldier’s cuff.
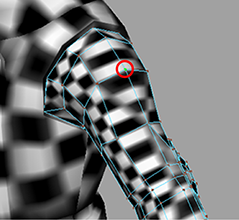

 .
.
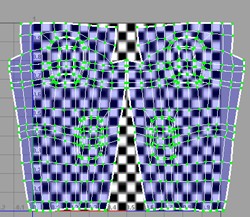
The UV mesh for the arm is unfolded evenly up and down. This is better than the UV mesh we would get if we unfolded in all directions.

Now you can output these UVs to a file.
-click the arm in the UV Texture Editor and select UV from the marking menu.
This step is necessary because a UV snapshot only captures what is in the 1 x 1 UV texture space (the upper right corner).
-click the arm in the perspective view and select Object Mode.
Like the torso you did in the previous step, Maya outputs an .iff file containing the UV mesh. You can import this file into an image editor and use it as a template to create a texture.
Now repeat the entire procedure for the right arm. Note that you do not need to output the UVs for the right arm because it will use the same texture as the left arm.
Although you could handle the legs the same way you handled the arms (cutting them into two pieces), you can also treat the entire lower body as a single mesh. You can follow the same procedure as above, except for the following:
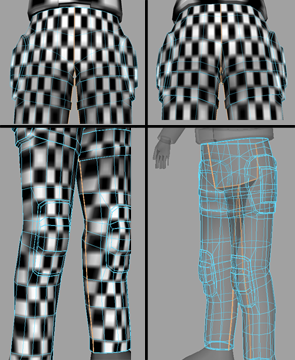
As with the torso and arms, you can now output these UV meshes to an external file to paint a texture on them. For information about how to do this, see Outputting UVs.
 Except where otherwise noted, this work is licensed under a Creative Commons Attribution-NonCommercial-ShareAlike 3.0 Unported License


