If you get the error message “Cannot process frames. X X X. Check that you have provided enough track information.”, the solver did not have enough information to complete the reconstruction process for some frames. To correct this, you need to manually add some tracks that will cover all concerned frames, then run the solving process again.
Pay special attention to the reference frames in such a situation. They are used to bootstrap the computation and should contain plenty of relevant information and tracks in common.
It is important that depth information can be extracted from these two frames.
Motions that feature a still optical center, such as panning and zooming, do not provide that information. Orbitals and lateral travelings are your best bets. Keeping that in mind, you may manually edit the reference frames; this may greatly improve the calibration process.
The quality of tracked points in the reference frames is paramount. Although MatchMover is usually able to filter out inconsistent points, in some cases the low signal-to-noise ratio hinders the sorting process between relevant and inconsistent tracks, resulting in some of the latter getting through.
If several bad tracks (with the red helper icon) are listed, it is a good idea to review the quality of your tracks. First of all, run the Automatic Clean up (F11) in order to restrict the number of tracks. Do not hesitate to start solving only a subset of your shot, and then extending it smoothly in case of really complex shots. It’ll then be easier to isolate tough frames. You can extend the solving in 3 different manners. See Camera solving.
Look for the following issues:
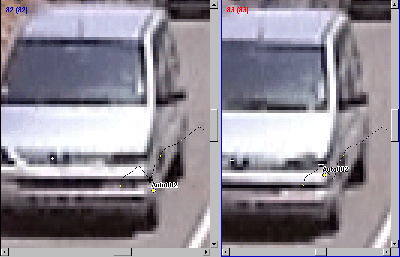
Jumpy tracks can be found by carefully looking at track paths. A sudden bump in the path may mean that the track “jumped” from one feature to another or it may also be caused by a jerky camera motion. Usually these can be manually edited and corrected or simply deleted.

This is a special case of jumpy track, the tracker was fooled by the repeating pattern. Make sure the corners match or remove the tracks altogether.
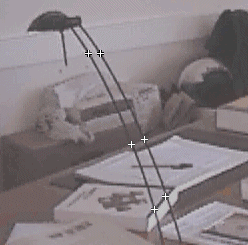
The intersection of the border of an object and a line in the background represents a 3D point whose position in space changes with the camera position; it is not a physical 3D point. More generally, any 3D point whose position in space depends on the camera position (for example, the occluding edge of a cylinder) should be removed.
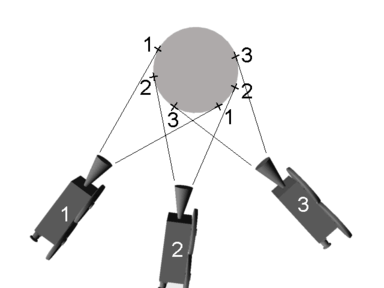
In some cases, this is harder to figure out. The apparent corners of a bottle or any other cylindrical object placed on a table will not represent the same 3D point when you orbit around it. Specular highlights should also be removed.

If there are points left of objects in motion, when you intend to track the scene, the information they will provide, while relevant to the object, can be confusing for MatchMover. Deleting such point tracks will help solve the issue. You can also use mattes to mask moving objects.
Mattes must be drawn before running the automatic tracker, not afterwards.
If an object moves out of the camera field then back in, MatchMover may not recognize it and so may add new tracks on it. Inaccuracies during computation may then produce a “ghost” of the object; two copies of the object, slightly offset, will be reconstructed.
Editing the 2D tracking will get rid of this problem; use the Merge Tracks option on all tracks that represent the same physical point (see Merging tracks). Note that the solving can do that automatically.
If a part of the computed path is noisy, quivering, uneven, or otherwise incorrect, there is a big chance that the corresponding frames are marked red. This is usually the first symptom of the issue, which can also be diagnosed in 3D View.
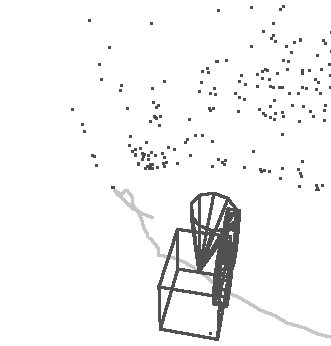
Keyframes are usually the way to obtain a smoother motion. If the area contains only a few keyframes or none at all, adding some will improve the result. To manually add a keyframe, select the frame, right-click it, and in the pop-up menu select it as a keyframe or decrease the average step between keyframes in the Edit > Preferences > 3D Tracking window.
If you have set the camera to have a constant focal, which is the default setting, MatchMover will see motions instead of zooms.
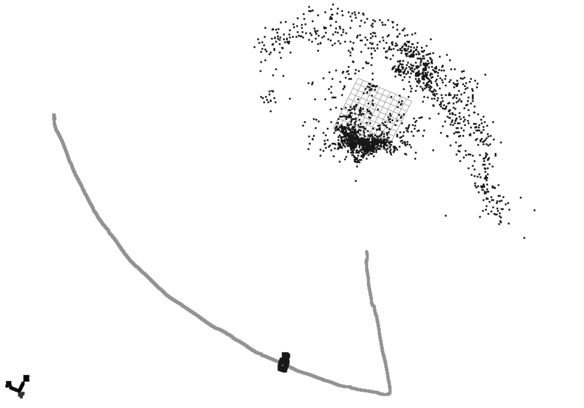
Fixing this problem is simple. Open the camera’s Parameters Window and set the focal length to Variable, then re-run the camera solver.
The symptom is that some angles are either too sharp or not enough. This is most obvious with angles that should be right but are not reconstructed as such.
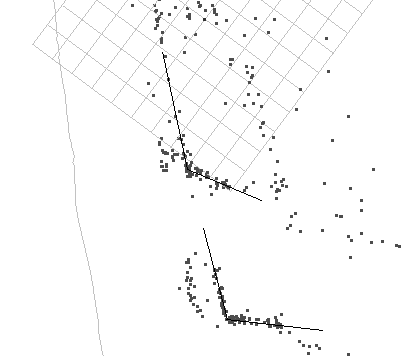
This condition can be improved using point relations. Constraining points on a wall to share the X coordinate and point on the other wall to share the Z coordinate will force the angle to be right. To do this, however, you need to define your coordinate system in a way that your axes are parallel to the aforementioned walls.