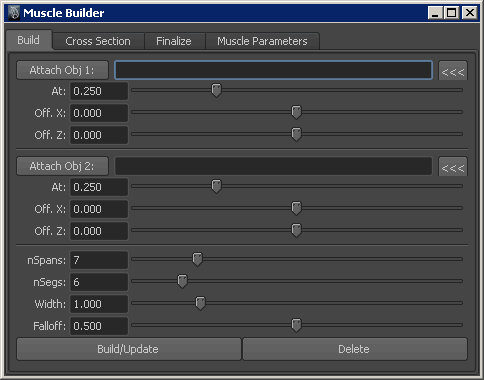
As an alternative to manually converting NURBS surfaces, you can create simple muscles using the Muscle Builder window. The following section gives an example of how to create simple muscles with the Muscle Builder window.
While it is not required, you should align your joint axis such that one of the local axes cleanly points down the length of the joint chain. The default for Maya is X. You can use any free joint orient tool to align your joints that way, or before creating joints, you can use the Joint Tool settings and set the Orientation to yzx and the Second axis world orientation to +y.
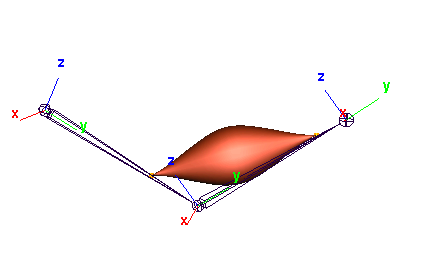
Regardless, you need to know which axis you are using down the length of the joint. The Muscle Builder window is set up to expect the Y-axis down the chain, but it works with any setting. The image below shows an example of joints properly aligned with Y down the length:

The Muscle Builder window appears with the Build tab open.

 buttons
to load the object into the field. Shown below, joint1 and joint2 have been
entered.
In addition, you can change the nSpans and nSegs to a desired value. You can set these two values at any time, but you have to click Build/Update again to refresh the surface. All other values can be tweaked once the surface is built. See Muscle Builder window for more information on each option.


Now you can work with the cross section tools to change the shape of the simple muscle.