The principle data used by MatchMover is film, video, and image sequences. You can simultaneously use a number of different sequences and image files in MatchMover as long as they all share some 3D information such as different viewpoints of the same scene. MatchMover supports most commonly used video and image formats including interlaced footage. See Importing footage.
Your footage is used to identify feature tracks either automatically or manually, and these tracks will be used for the solving. In the case of multiple sequences or stills, the same feature can be easily spread and tracked across all the footage it appears, thus adding information about its position in the 3D space. See Point tracks and Helper images.
When you create a new project, the first step is to load your film, video or image sequence.
A helper image is an additional shot of a scene taken from another point of view than that of the sequence. This enables you to introduce parallax into your project when the sequence itself has low parallax.
For example, you have a camera pan from point A to point B while focusing on object C. By taking additional shots of object C from other positions, you are providing parallax to the sequence.
When you have a sequence with little or no parallax, for example, no camera translation, you can add helper images to the sequence to aid the MatchMover computation. These helper images are shot from different viewpoints from that of the camera that filmed the main sequence.
They can be taken with either the same camera or a different one. The following sections describe situations where helper images aid in MatchMover calculations.
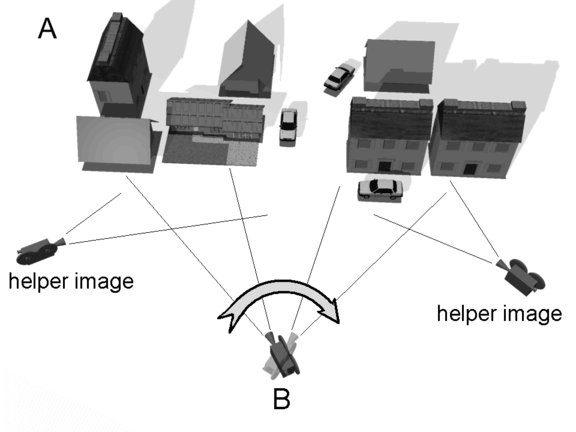
Using helper images with images taken with a tripod camera
You have an object at position A. The camera is fixed at position B, but there is a rotation of the camera as it pans left and right. You can take one or several helper shots from different positions (two in the example below) and then load them into your project.
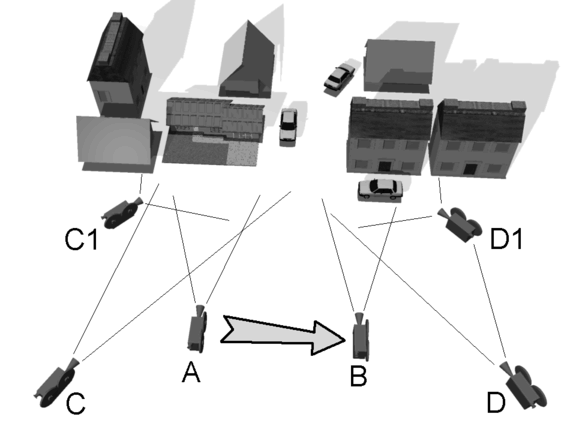
Using helper images with images taken with a traveling camera
In the following diagram the camera moves from position A towards position B. At each moment, it sees a small fraction of the scene.
You can use helper images shot from more distant viewpoints (C, D) and/or with a wider-angle camera (C1, D1) that sees a larger portion of the scene, as shown in the following image.
Loading these helper images into your project helps the camera solving process. Helper images only help MatchMover calculations; they are not compulsory.
The video and film sequences you use with MatchMover can be in different standard frame rates including 24 fps (frames per second) for film, and 25 fps (PAL) and 29.97or 30 fps (NTSC) for video. In some cases, your footage might have a custom or non-standard frame rate. The frame rate of your sequence is used for playback speed and is exported along with the matchmover data to the 3D package.
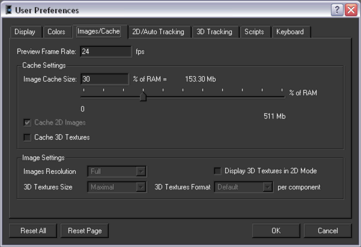
You can set the project frame rate in the MatchMover User Preferences.
To set frame rate in the User Preferences