In matchmoving, creating a point track by manually placing points in a scene is also known as a hard track. The automatic process that you completed in lesson 1 is different from supervised tracking in that many tracks are handled at the same time and 3D coherency is used while tracking. For supervised tracking, only one track is handled at a time. Also, when supervised tracks are present before launching the automatic process, they are used in the 3D coherency checking.
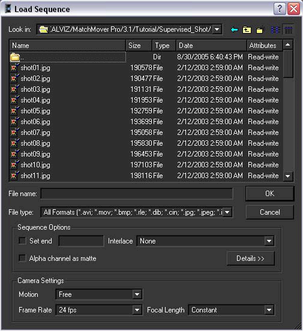
When placing tracks manually, try to cover as much of the scene as possible. The tracked points should be points that can be accurately localized in the image and represent physical points such as markings, corners, or shadows.To help with the accuracy of the manually placed points you will place tracks on the most contrasted areas. In the image sequence, you will use the gray X’s that appear on the green background of scene to help position your tracking points.
For more information about placing tracks, see Supervised 2D tracking.
To place a track point in the scene
When you drag the cursor over the Workspace, it changes to cross-hairs.
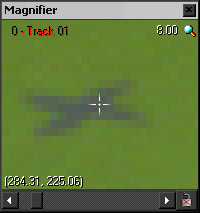
Use the Magnifier window view below the Project window to help you precisely position the location of the new point.
Corner areas are often good locations to place the track points. The extremity areas have less contrast and do not allow you to visually locate the point as precisely as the intersections and can introduce a higher risk of ending up with a “sliding” track point.
A Magnifier window appears around the area you placed the point. This is another window you can use to help place the track point accurately.
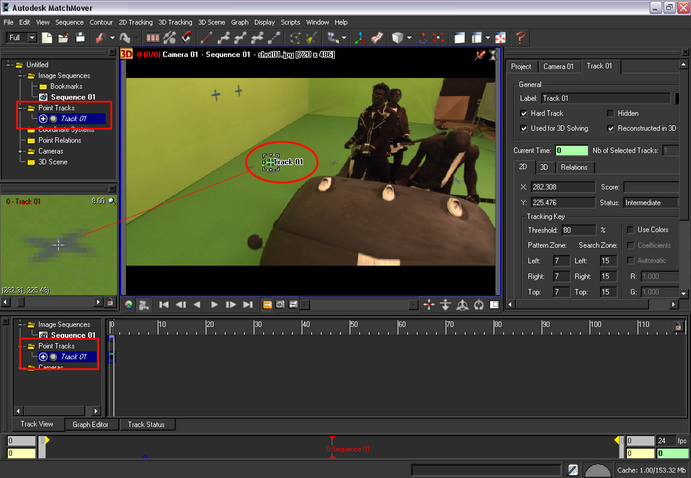
A window labeled Track 01 appears in the Workspace. The presence of the window indicates that the track point is still selected.
While the point is being tracked, the Tracking Monitor window appears showing you the tracking progress.
After the point tracking is complete, its trajectory line appears on the image. You may notice that the trajectory line has green, yellow, and possibly, red segments. The red segments indicate areas where the tracking slides or is of low quality.
![]()
You can correct the sliding track by manually adjusting the point positions where the track has drifted significantly. In the next section of the lesson, you adjust the point positions to improve the tracking quality.