Adding more tracking points to your scene improves the overall quality of the tracking.
To ensure this lesson works as described, open the scene file named Shot_tracked.mmf. This file is in the Tutorials directory that you copied from the MatchMover installation directory to a local directory: Tutorials\Supervised_Shot\Shot_tracked.mmf.
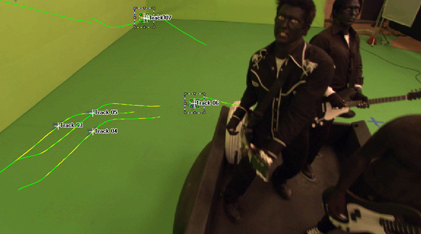
Eight tracks have been added to the image sequence. In this section of the lesson, you will add more tracking points starting with Track 9.
To make the tracking process quicker, you can use MatchMover's keyboard shortcuts to create the track and run the forward tracking.
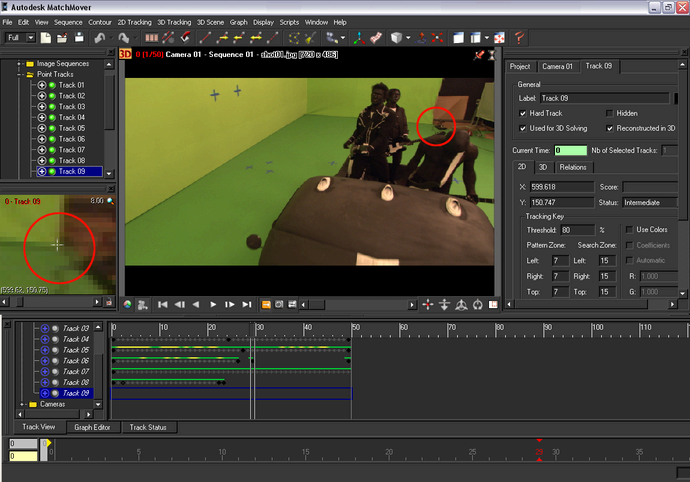
The tracking begins then stop around frame 15. Track 09 appears in the Workspace and is also added to the track points in the Project window.
A window appears in the Workspace indicates that the tracking quality is too low for MatchMover to continue the trajectory.
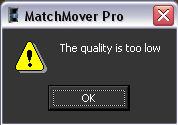
The reason the tracking quality is so low is that the actor’s body hides the area you want track in the sequence.
The Parameters window now displays the parameters for the tracked point under the Track 09 tab.
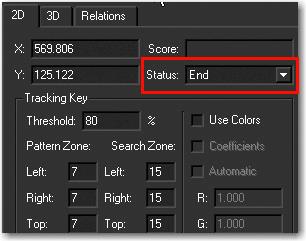
Since the tracked point’s trajectory cannot continue to be tracked, you can change the status of last frame by setting it to an end keyframe. This means that MatchMover will not track forward past this frame.
The End status of the keyframe is indicated in the Track 9 Parameters window in the Status field.
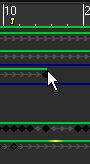
As you advance, the tracked point and its trajectory is hidden between frames 16 and 28, then re-appears at frame 29. Since the track is likely to disappear again, this time behind another obstacle, you can track the point frame-by-frame using the Step-tracking mode.
At frame 31, a window appears indicating that the tracking quality is too low to continue tracking.
To check the quality of the track
 at the
bottom right of the Magnifier window.
at the
bottom right of the Magnifier window.
 icon.
icon.
Notice that MatchMover only plays the sections of Track 09 that have been tracked. The frames that could not be tracked because of obstacles in the scene are not played.


