Load the footage
NoteYou can bypass this
section of the lesson by openning
Elastic_Import_Scene.mmf.
This file can be found in the
Tutorials/Elastics directory.
You can then proceed to
Set up the trackers and the survey points.
To load the image sequence
- Select File > Load Sequence or
click the Load Sequence
 icon.
icon.
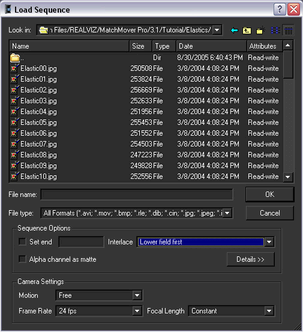
The Load Sequence window appears.
- In the Load Sequence window,
browse to the location of the MatchMover Tutorials/Elastics directory,
and select Elastic00.jpg, which
is the first image in the sequence.
- In the Load Sequence window,
under Sequence Options, set Interlace type
to Lower field first.
- Under Camera Settings,
set Frame Rate to 24
fps (Frames Per Second).
Leave Motion set
to its default setting of Free.
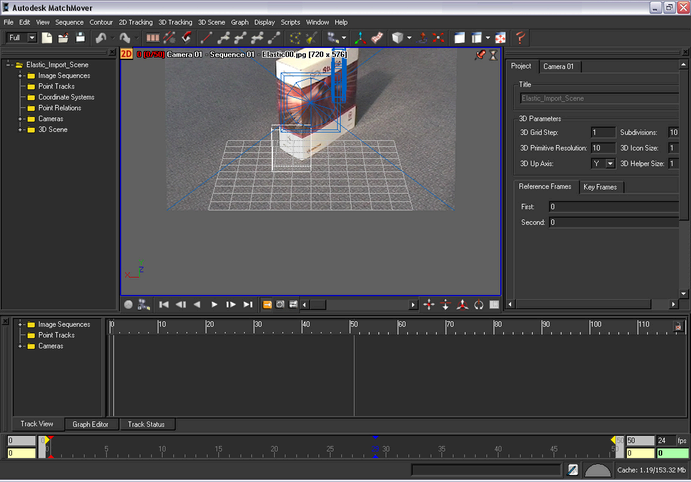
- Click OK.
Import the 3D mesh
To import the 3D mesh
- Click the 3D space icon
 that
is located in the top left of the Workspace.
The view switches to 3D mode. A camera icon
and grid is placed in the Workspace.
- Select File > Import,
or right-click in the Workspace and select Import Scene from
the pop-up menu.
The Import Object window appears.
- In the Import Object window,
select Wavefront Ascii Model (*.obj) from
the Files of Type list.
- Browse to the location of the Tutorial/Elastics directory, and select Box.obj.
A 3D mesh of the box
appears, in wireframe, in front of the image plane. This mesh will
now be used as a reference for the 3D tracking. This ensures that
the solution will be consistent with this geometry even though this
shot holds little parallax.

 that
is located in the top left of the Workspace.

