Learning Resources > Tutorials > Getting Started with Maya > Polygon Texturing > Lesson 2: UV unfolding >
Dividing the mesh
If you select the polygon soldier and look at the UV Texture Editor, notice that the UVs for the body, arms, and legs are scattered in a pattern that doesn’t resemble the actual model. This isn’t very helpful for painting a texture map.
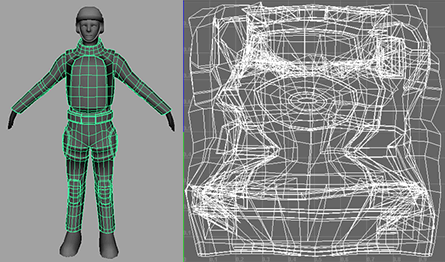
To simplify the job, you need to divide the mesh into multiple pieces that you can then texture individually. Generally, you want to divide the mesh into pieces that can be unfolded into approximate square or rectangle shapes. This requires some pre-planning.
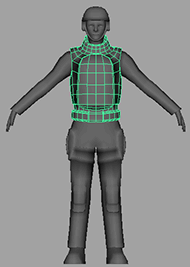
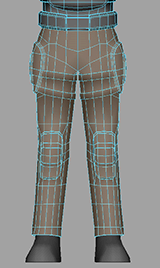
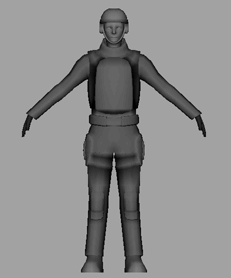
In this lesson you divide the body mesh into a torso, arms, and legs.
To divide the mesh into pieces
The perspective view changes to an orthographic front view of the soldier.
 -click
the mesh and select Face from the marking menu.
-click
the mesh and select Face from the marking menu.
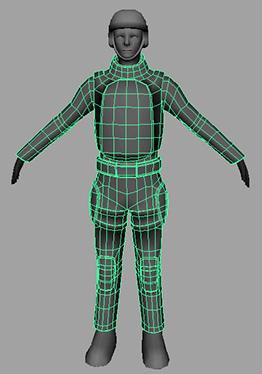
Now you change the selection mask back to Object, you can select the hand separately from the rest of the body.
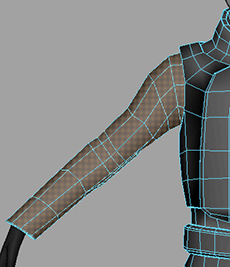
This leaves you with individual meshes for the arms, legs, and chest. The head, feet, and hands have already been done for you. This division allows you to texture each part individually.