


Learning Resources > Tutorials > Getting Started with Maya > Assets > Lesson 2: Using assets
in a scene >
Modifying a proxy container
Although the locator in the scene gives you the position of your referenced asset, it doesn’t accurately convey the size or shape of the object it represents. You can modify the proxy file to give the proxy container a more useful shape.
The proxy file consists of a single locator at the center of the scene. You can add geometry to this file to customize the representation of the fire.
 .
.
Performing this step allows you to move the cube and locator together.

You can add vertices and model the cube to shape it look more like fire if you choose. You can find polygon modeling tips in Polygonal Modeling.
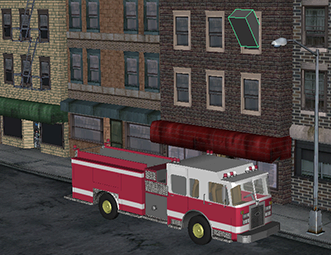
Now save this file and return to your original scene file. The proxy that was once a single locator has now changed to a cube that is roughly the size of the referenced fire effect.
You can switch back to
the the fluid effect by  -clicking
the proxy and selecting Reload Proxy As >
original from the marking menu.
-clicking
the proxy and selecting Reload Proxy As >
original from the marking menu.