Rendering with render pass
contribution maps
Creating render pass contribution
maps
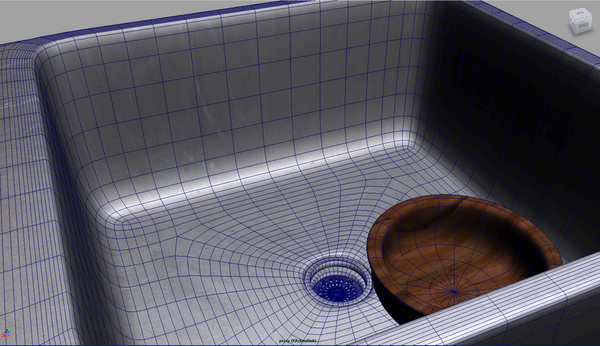
In this scene (KitchenSinkModel.ma), there is
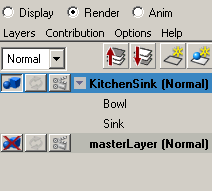
a render layer, named KitchenSink, with two objects, a sink and
a bowl, and a light. A Phong shader
is applied to the sink and a Lambert shader
is applied to the bowl.
- Select the bowl and light in your scene
view. In the Render Layer Editor, right-click
the layer and select Pass Contribution Maps > Create Pass
Contribution Map and Add Selected.
passContributionMap1
is created. Double-click it and change its name to Bowl.
- Select the sink and light in your scene
view. In the Render Layer Editor, right-click
the layer and select Pass Contribution Maps > Create Pass
Contribution Map and Add Selected. Change its name to
Sink.
Create render passes for
each render pass contribution map
- Open the Render Settings window
and select mental ray as your renderer.
- First, create the render passes for your
sink render pass contribution map. Select the Passes tab
and click the New Pass
 button
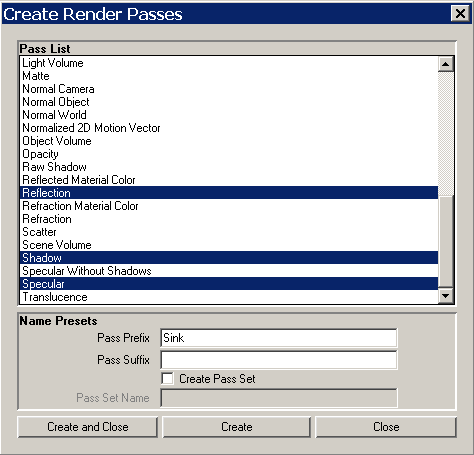
to create new render passes. The Create Render Passes window
appears.
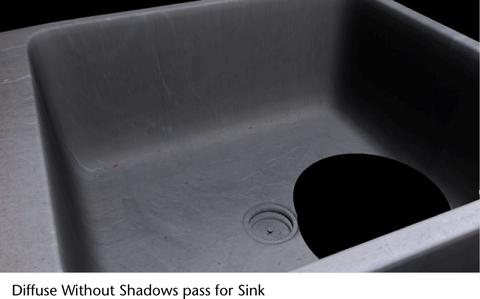
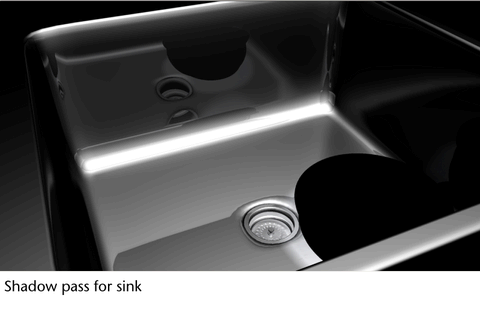
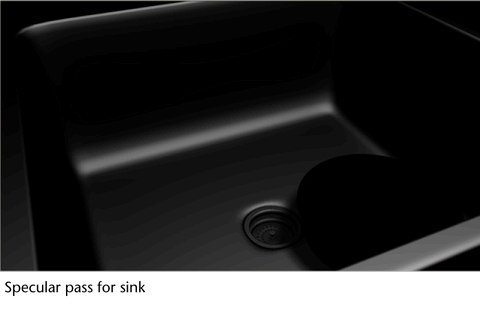
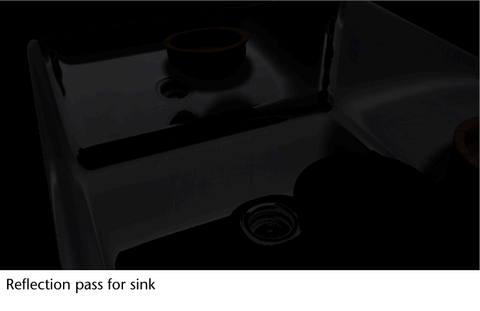
- Multi-select the following render passes: Diffuse
Without Shadows, Reflection, Specular,
and Shadow. In the Pass
Prefix field, enter Sink. Click the Create
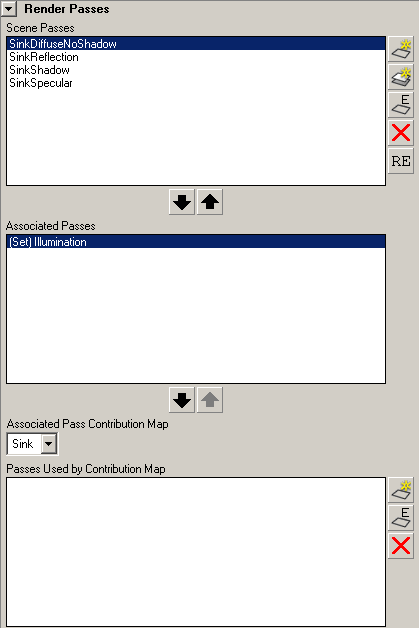
and Close button. The following passes are created: SinkDiffuseNoShadow,
SinkReflection, SinkShadow, SinkSpecular. The passes appear under
the Scene Passes section.
- Create the render pass for the bowl render
pass contribution map. Select the Passes tab
and click the New Pass
 button
to create a new render pass. The Create Render Passes window
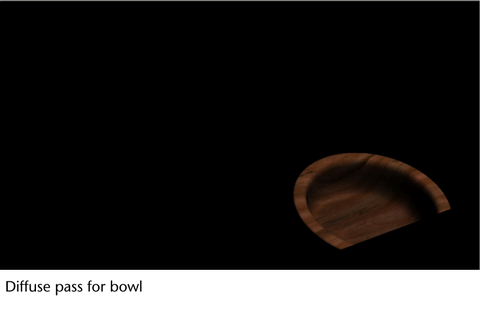
appears. Select the Diffuse render pass and enter
Bowl in the Pass Prefix field, then click Create
and Close. The BowlDiffuse pass appears under the Scene
Passes section.
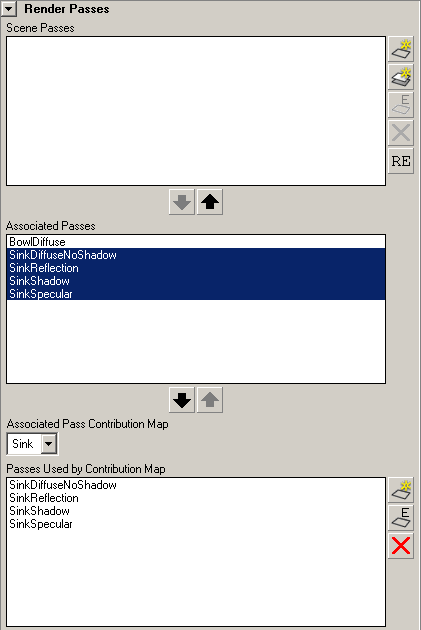
- Before you can apply these render passes
to each pass contribution map, you must first make these passes
available to the current layer. Use the arrow buttons to move the
passes to the Associated Passes section.
- Using the Associated Pass Contribution
Map drop-down list, select the pass contribution map
that you want to select render passes for, for example, Sink.
- Use the arrow buttons to move the SinkDiffuseNoShadow,
SinkReflection, SinkShadow, and SinkSpecular passes to the Passes
Used by Contribution Map section.
- Repeat this procedure to add the BowlDiffuse
pass to the Passes Used by Contribution Map section
for the Bowl pass contribution map.
- Render the scene. Your rendered images
are saved to the images directory of your project file as described
below.
Creating subfolders and
filenames for rendered images
By default, your rendered
images are saved to the subdirectory <RenderLayer>\<camera>\<RenderPass> under
the images\tmp directory
of your project file. The image file name <scene>.iff is
used for each rendered image.
NoteAll image output
from render passes are saved to the images\tmp directory
of your project file unless you run a batch render. Running a batch
render saves your render passes output to the images directory.
NoteIf you render using
the Render View window, you can
also preview your render pass output by selecting File
> Load Render Pass.
You may want to customize
the subdirectories and filenames for the rendered images instead.
For example, you may not want a folder to be created for each layer
and camera. Use the tokens available from the File
name prefix attribute under the File
Output section in the
Render Settings: Common tab. and
combine them with separators such as _ or -.
For example, you may
want to use the <Scene>_<RenderLayer>_<RenderPass> tags
to create the filenames for your images. In this sample workflow, the
following images are produced:
- KitchenSinkModel_KitchenSink_BowlDiffuse.iff
- KitchenSinkModel_KitchenSink_SinkDiffuseNoShadow.iff
- KitchenSinkModel_KitchenSink_SinkReflection.iff
- KitchenSinkModel_KitchenSink_SinkShadow.iff
- KitchenSinkModel_KitchenSink_SinkSpecular.iff
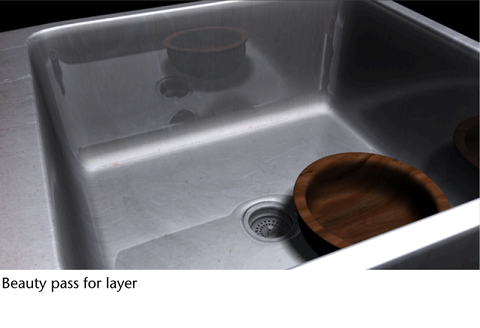
- KitchenSinkModel_KitchenSink_MasterBeauty.iff (This
is the default beauty pass for the layer.)
NoteIf you use the default File
Output directory, Maya creates a MasterBeauty folder
to which it saves the default beauty pass for the layer. If you
customize the File Output directory, a MasterBeauty.iff image is created for
the beauty pass.
Using render pass sets
in your scene
If your scene includes
many render passes, you may want to group them into render pass
sets. You can create render pass sets using the Create
Render Passes window at the same time as when
you are creating your render passes.
- In the Create Render Passes window,
select the passes that you want to include in your pass set.
- Enable the Create Pass Set option.
Enter a Pass Set Name, for example, Illumination.
Click Create Passes.
- The Illumination pass
now appears in the Scene Passes section.
- To render this pass set for the current
layer, use the arrow buttons to move the render pass set to the Associated
Passes section.
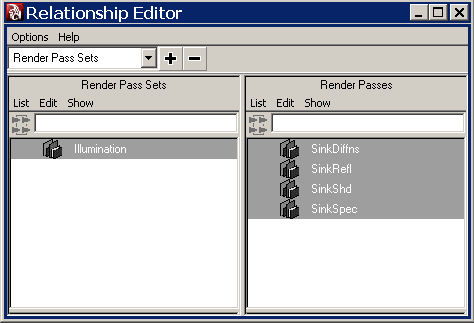
- Select the Illumination pass set and
click the Pass Set Relationship Editor button.
The Relationship Editor window
appears and you can see that the Illumination pass is automatically
associated with all the passes that you created simultaneously.
- Render the scene. By default, the rendered
images are saved to <RenderLayer>\<camera>\<RenderPass> under
the images\tmp directory of
your project file.
