Show in Contents

Add to Favorites

Home: Autodesk Maya Online Help

Assigning material shaders

Lesson 3: Creating a liquid simulation with nParticles

Beyond the lesson

Rendering a simulated frame
Now that you have assigned
mental ray mia_material_x shaders to the objects
in the scene, you can use the mental ray for Maya renderer to render selected
frames of your simulation.
To render a selected frame
- Go to frame 119.
You will render this
frame where the water nParticles pour into the glass.
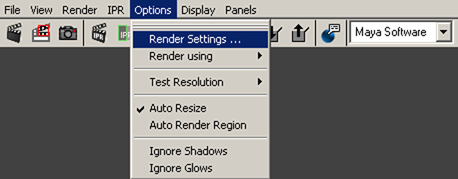
- In the Render View, select Options
> Render Settings.
The Render
Settings window appears.
- From the Render Using list,
select mental ray.
- Click the Common tab
and set the following:
- In the Renderable Cameras section,
select renderCam from the Renderable Camera list.
- In the Image Size section,
select 320×240 from the Presets list.
- Click the Quality tab,
and do the following:
- From the Quality Presets list,
select Production.
- In the Raytracing section,
turn on Raytracing.
- Set Shadows to
4.
- Click the Indirect Lighting tab,
and in the Caustics section, turn on Caustics.
- Click Close to
close the Render Settings window.
- To render the current frame, in the Render
View, select Render > Render > Current (renderCam).
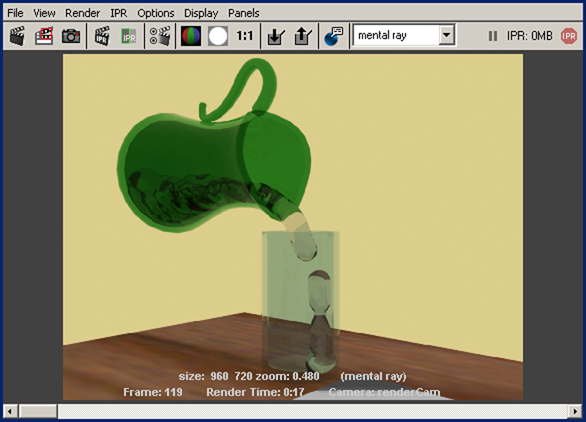
The current frame appears
as a rendered image in the Render View.
You can continue to make
changes to the render settings, change the renderCam view, or select
another simulated frame to render. After you are satisfied with
your render settings, you can render the frame as a full-size image.
To render a full-size image
- In the Render View, select Options
> Render Settings.
- Click the Common tab
and in the Image Size section, select 640×480 from the Presets list.
- From the Rendering menu
set, select Render > Render Current Frame.

