User Guide > Rendering and Render Setup > Rendering > Appendices > Appendix D: Render layer
presets >
Render layers example:
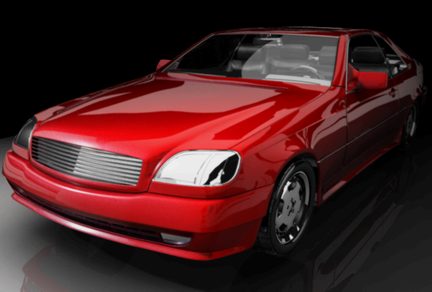
automotive preview
Consider an example of a preview image for automotive design. The idea is to make the image look as realistically-lighted as possible, while also providing color choices for the car model. As well, it should be easy to change the background image for a variety of looks.
This can be accomplished in Maya and image-editing software using render layers.
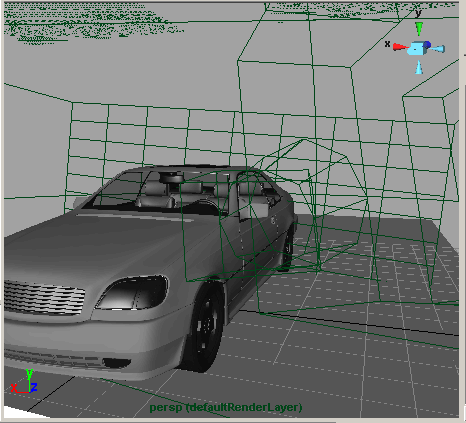
In Maya, this scene has a variety of reflective surfaces and environment lighting placed around it for optimum rendering.
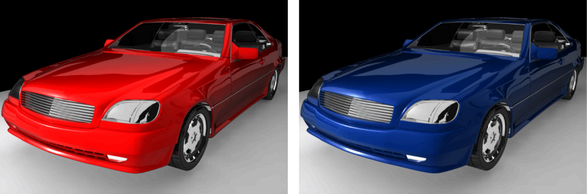
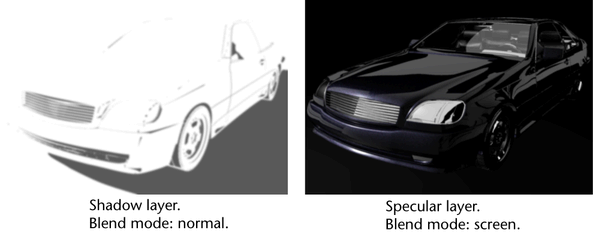
While working on the scene, a variety of layers are created and previewed. The final image is saved out to PSD layered format. For more details on saving to PSD layered format, see Render layers to PSD format. The final image contains nine composited layers:
For more details on blend modes, see Layer blend modes.
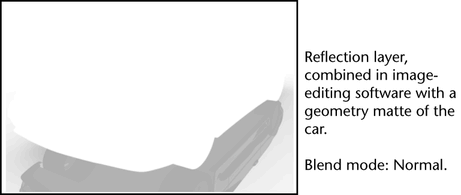
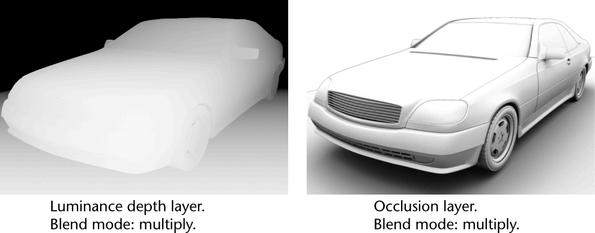
The final image shows very realistic lighting as the various passes contribute their effects: the specular layer makes reflections and glow more prominent, the occlusion layer creates realistic darkening in crevasses and under geometry, and the luminance depth layer darkens parts of the image that are farther away from the camera. The shadow layer adds shadows to the car image and around the image. Finally, the reflection layer adds reflections to the model.