Track a point


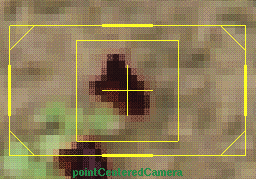
Tracking a point is the same whether you are solving for camera movement or object movement.

NoteThese instructions assume you are tracking a single point at a time, but you can apply the same steps to a group of selected points.

To track any one point

  1. Open the Track control panel.
  2. Move to the frame where you want to start tracking.

    You can track from the first frame forward, from the last frame backward, or from a middle frame in both directions.

  3. Click the track box tool to activate the manipulation of track boxes.

  4. Do one of the following:
  5. Use the pointCenteredCamera view to position the track box more precisely.

    TipFor faster manipulation of the track box, you can try changing the Texture Method on the Setup Cache control panel to Image or SubImage, depending on your machine.
  6. Resize the track box target and search area, if needed.

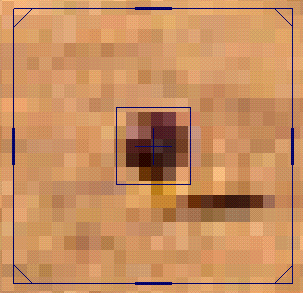
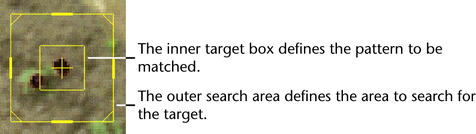
    When in doubt, however, keep the default size. For more information on how to size track boxes, see Size track boxes.

  7. Verify that Use Current Frame is checked, which specifies to start tracking from the current frame.

    In general, we recommend that you always track from the current frame. If you want to track on a range of frames, however, you can enter the frame range values.

  8. Change the Tracking Direction setting as needed: Forward, Backward, or Bidirectional.

    For example, if you start from the last frame, select Backward.

  9. Click the Start Tracking button on the control panel.
  10. Review the Pointblast movie that Live has created for you.

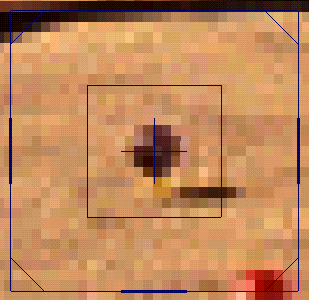
    While reviewing, notice the last frame where the track box is on target and any frames where the track box slips or jitters. See Evaluate a track point for details.

  11. If the track fails or becomes obscured before the end, continue the track using one of the methods described in Correct track failure.

Size track boxes

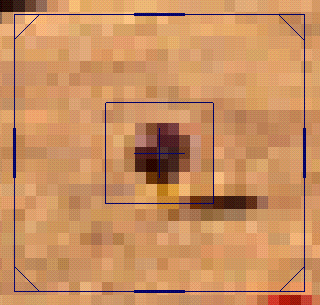
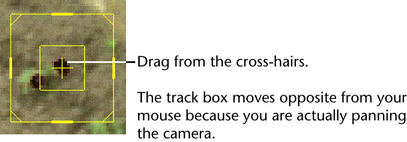
For most objects, the default track box size is fine. However, in some cases, resizing is necessary to have a successful track. In fact, you may need to resize or reposition the track box a number of times to keep it on target. There are several factors you should keep in mind:

Sizing Tip Example

Distinct pattern: The target size (inner box) should closely fit the boundary of the point, including some of the background to define its edge and make the target pattern distinct.

Target too small: If the target is too small, the track point may fail sooner because there is not enough background to distinguish it.

Target too large: If the target is too large, there are usually more changes in the pattern and so the track may fail sooner. (In this case, the shadow cast by the marker changes.)

However, tracking larger objects generally gives more accurate results than tracking small objects. Just beware of including too much background.

Search too small: If the search area (outer box) is too small, the object you are tracking may fall out of the search area, especially with rapid, pronounced camera movement. This problem often manifests as an inexplicable drift off the target.

Search too large: If the search area (outer box) is too large, the track point may jump to similar areas. Try reducing, lengthening, or widening the search area to avoid the similar objects.If in doubt, it’s generally better to enlarge the search area. A larger search area does impact performance, but not significantly.