You can recreate a geometric object as a flexible object called a soft body. You can use various animation techniques to make the soft body bend, ripple, and bulge like soft objects in nature.
When you make a soft body from geometry or a lattice, Maya creates a corresponding particle object. The particle object is indented under the geometry in the Outliner. The combination of the geometry and particles is a soft body.
The particle object has one particle for each CV or vertex in the geometry. For a polygonal object, the particles exist at the vertices. For a NURBS object, the particles exist at the CVs and are visible in the workspace.
When a field, collision, or expression moves the particles, the corresponding CVs or vertices move in response to the movement of the counterpart particles. You do not render the particles; they exist only so you can influence the geometry with dynamics. You render the geometry (see Render soft bodies with motion blur for additional information).
Because a soft body includes a particle object, it has the same static and dynamic attributes as a particle object. You can set these attributes the same as for other particle objects.
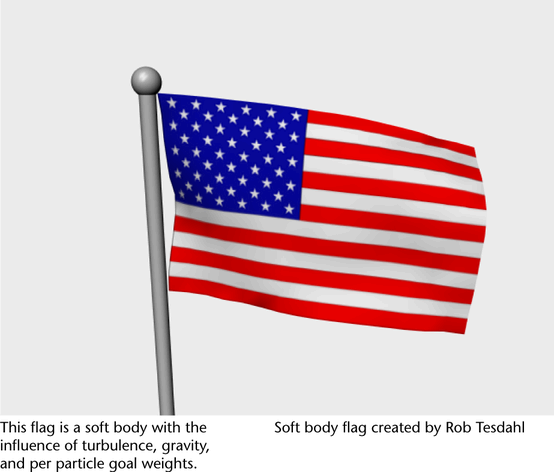
You can make the soft body trail or move towards a goal object made from the original or duplicate geometry. Using the Paint Soft Body Weights Tool, you can set goal weights on a soft body on a per particle basis by painting on the soft body surface (see Paint Soft Body Weights Tool).
You can create springs on a soft body to alter its deformations and resilience. If you select only the soft body and create the springs, the springs exist between its particles. You can also create springs between the soft body particles and other particle objects or geometry. See Springs.
Note also that you can emit particles from the soft body’s surface or particles. Select the appropriate item before you use Particles > Create Emitter. Emitting from the particles is the same as emitting from its CVs. See Emitters.


