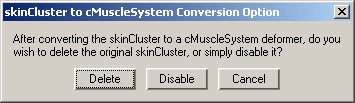
Instead of applying the Muscle deformer to an existing skinned mesh, you can also convert a skinCluster to the Muscle setup. This effectively replaces the skinCluster with Muscle’s Sticky weights. To do this, joints are converted to capsules (meaning they have a cMuscleObject shape node applied) so that they can be connected. In addition, weighting from the skinCluster is automatically transferred to the cMuscleSystem node.
You can decide whether to use Relative mode for Sticky weights, or to use a Muscle deformer for all deformation. One of the benefits of using Muscle is that you can paint three sets of Sticky weights and blend between them as needed. See Sticky deformationand Relative Sticky deformation.
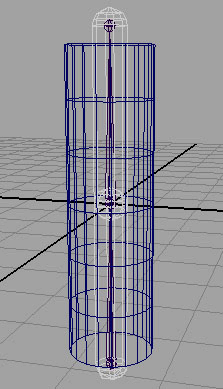
To convert an existing skinCluster deformed object to a Muscle deformed object
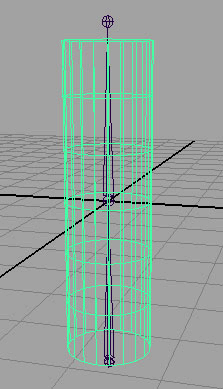

The joints convert to have cMuscleObject shape nodes as capsules, and the deformer is applied with the original weighting transferred. When finished, your deformation looks the same, but it now uses the Muscle deformer. You can now use the options for this deformer such as adding muscles for Sticky or Sliding weighting and so on.