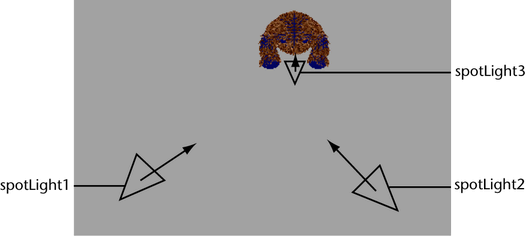
You must add lights to your scene to illuminate the model before you render it. You will create and position three spotlights to highlight the fur properties on the bear model (see the plan view below). Spotlights are used in this lesson because they can cast shadows.
The first spotlight will be positioned to the right of the model. The second spotlight will be positioned to the left of the model. The third spotlight will be positioned so it shines down onto the model from above.

 .
.
A new spotlight is created at the origin, named spotLight1. By default, it is selected in the scene view. Check the Channel Box or the Attribute Editor to make sure the spotlight is selected.
This new spotlight will be named spotLight2 and have the same intensity setting as the first spotlight.
 , set
the following attribute, and then click Create:
A third spotlight is created at the origin, called spotLight3.
These three light sources will evenly illuminate the model: one will create a shadow once you have set fur shadowing attributes for the spotlights.