User Guide > Rendering and Render Setup > Rendering > Rendering Windows and Editors > Hardware Render Buffer >
Hardware Render Buffer menus
Contains the Close option. Either click the box at the top right of the window or select this option to close the Hardware Render Buffer window.
Contains options for setting rendering attributes, rendering a frame or sequence of frames, and controlling the display of the Hardware Render Buffer.
Opens the Attribute Editor and displays Hardware Render Buffer Render Settings. For details, see Hardware Render Buffer window.
Scales the size of the Hardware Render Buffer so the rendered image is 100%, 70%, 50%, 30%, or 10% of the Resolution.
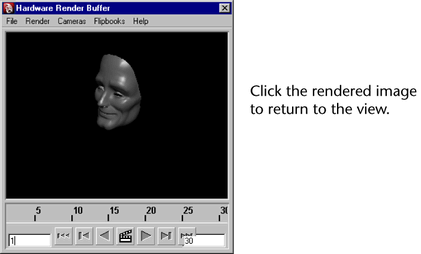
Displays the time slider and transport controls at the bottom of the Hardware Render Buffer. Click to turn the Time Slider at the bottom of the window on or off.
When you select another (unsupported) format from the drop-down list, Maya renders the image as an .iff file.
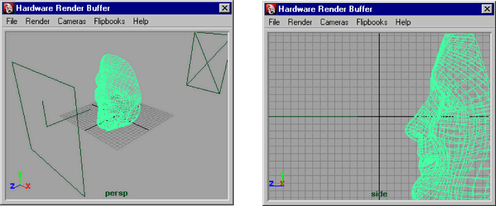
The view in the Hardware Render Buffer is actually a copy of the corresponding camera view. For example, if the camera view displays the resolution gate, the Hardware Render Buffer view also displays the resolution gate.
The Cameras menu contains a list of all cameras in the scene. Select a camera view by selecting it from the Cameras menu. For example, if you select camera 1, the Hardware Render Buffer displays the view as seen from the camera. If side, it displays the side view.
You can select and move
objects in the Hardware Render Buffer view
just as you would in a regular view. You can also adjust the camera
in the Hardware Render Buffer using
the  (Linux
and Windows) or Option (Mac OS X) key and the left, middle or right
mouse buttons.
(Linux
and Windows) or Option (Mac OS X) key and the left, middle or right
mouse buttons.
When you playback an animation in the Hardware Render Buffer, it also plays back in the corresponding view. To make an animation play back only in the Hardware Render Buffer, click anywhere in the Hardware Render Buffer view while the animation is playing.
The Flipbooks menu contains the list of sequences you rendered in the Hardware Render Buffer (if you selected Render Sequence from the Render menu) as well as the Clear Flipbook Menu option and Flipbook Flags.
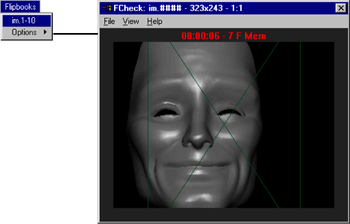
The Flipbooks Options control how sequences of images rendered from the Hardware Render Buffer display and displays the Flipbook Options window.
These options control how sequences of images rendered from the Hardware Render Buffer are displayed.
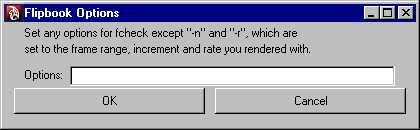
Enter fcheck options to be used when playing back a hardware rendered sequence of images (by selecting the sequence from the Flipbooks menu of the Hardware Render Buffer).
Time slider and transport controls
The time slider and transport controls in the Hardware Render Buffer are similar to the time slider and transport controls in the main Maya window. See the Animate > Create Animated Sweep in the Animation guide for details about the Time Slider.