To edit wave deformers by using handle manipulators

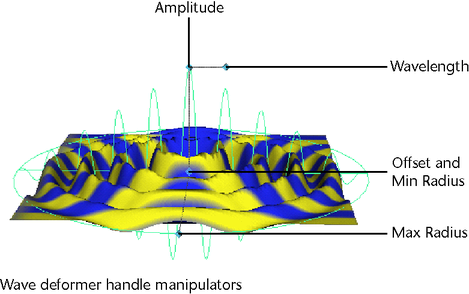
The manipulators on the wave deformer handle let you edit attributes.
 -drag
the mouse to edit interactively. Note that the Channel Box updates
the values you are changing.
The Offset and Min Radius manipulators are both located at the center of the handle by default.
To edit by moving, rotating or scaling handle
 (Linux and
Windows) or
  (Mac
OS X) key, moving the pivot point, and then pressing the
  or
or  key
again.
Remember that you can access the deformer handle’s local axes (Display > Transform Display > Local Rotation Axes), rotate and scale pivots (Display > Transform Display > Rotate Pivots or Scale Pivots) and selection handle (Display > Transform Display > Selection Handle).
To edit waved deformers with the Channel Box
One quick way to select the wave deformer node is to select the object being deformed, and then select the wave deformer node in its history from the Channel Box (under INPUTS).
Note that you can control which attributes are listed as keyable attributes (channels) in the Channel Box with the Channel Control editor (select Window > General Editors > Channel Control).
 -click
and move the mouse to the left or right. By moving the mouse, you
change the value of the selected channel. As you move the mouse,
note that pressing the
  key
gives you finer control, and pressing the
  key
gives you less control.
To edit wave deformers with the Attribute Editor
 +a.
+a.
See wave.
 (Linux
and Windows) or
  (Mac
OS X) key.
The wave deformer handle, wave deformer handle shape, and wave deformer nodes are all deleted. However, the object still has the tweak node as an input node, so any tweaks you might have made are preserved. Also, note that the various input nodes that structure the evaluation of the deformation are not deleted.
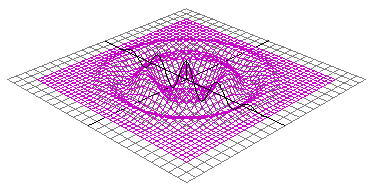
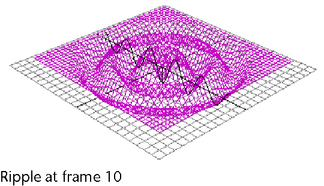
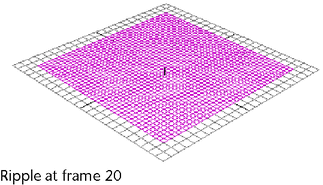
You can create ripple effects by using a wave deformer on a NURBS or polygonal surface. This example shows how you can create a simple ripple effect on a NURBS plane.


Next, you will set keys at frames 1, 10, and 20.

