


Learning Resources > Tutorials > Getting Started with Maya > Animation > Lesson 4: Nonlinear animation
with Trax >
Open the first scene for
the lesson
This lesson is presented in two parts. You work with two separate scene files we’ve created for your use. In the first part of this lesson, you learn some of the fundamental techniques for working with clips in the Trax Editor by animating an aircraft taking off and landing.
This file can be found in the GettingStarted directory that you set as your Maya project: GettingStarted/Anim/Trax_Lesson1.mb.
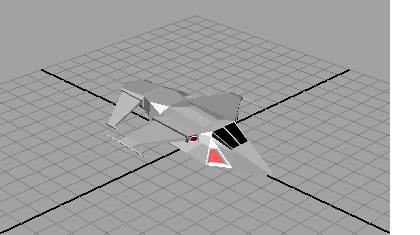
The scene contains a model of an aircraft. For the first part of this lesson, you create and work with animation clips to control the motion of the aircraft.
To work more efficiently with the scene and the Trax Editor, you need to set a panel layout.
To set a panel layout for use with the Trax Editor
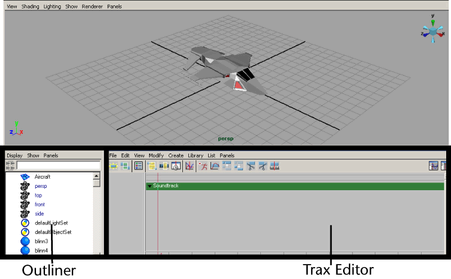
The panel layout updates to display the Perspective view, Outliner, and Trax Editor simultaneously. This allows you to easily work with these windows without having to open and close them repeatedly.
Next, set the Outliner so it displays clips. The Outliner allows you to manage the various clips that get created with Trax.
To set the Outliner to display clips
The Outliner displays an empty list until you create your first clip.