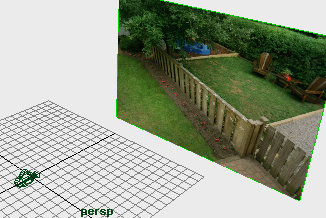
Imagine that you must replace the contents of a live-action shot of a fence with a fence modeled in Maya. In the live-action shot, the camera sweeps around the fence. You can use Live to animate a Maya camera that sweeps around your modeled fence in the same way. When you render the Maya fence from this camera, it will have the same camera perspective as the live-action fence. You can therefore composite them together precisely.


Live can also match the movement of objects in the live-action shot. Suppose you want to replace the hat of a moving, live-action person with a cartoon hat created in Maya. You can use Live to create 3D locators that follow the movement of certain points on the live-action hat. You then attach a hat created in Maya to these moving points, so that the rendered Maya hat follows the movements of the live-action person. The steps for matching object movement are about the same as matching the camera.
To use Live, you do the following major tasks in order:
You begin by loading digital images of the live-action shot. In this lesson, you’ll use images scanned from film footage.
Images appear on an image plane. This plane is part of the Maya camera. It displays images as part of a background.

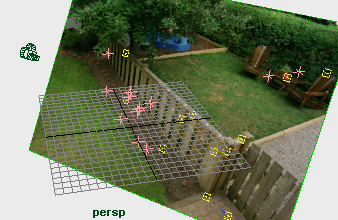
In this task, you mark a variety of points within the images, such as the center of a flower or a mark on the fence, and have Maya track how they change position from frame to frame.
![]()
In this task, you run a solver program that computes an animated camera, based on the movement of the track points.

This is an optional task where you can make frame-by-frame adjustments to the camera position. (This task is rarely used and is not covered by this lesson.)