


Learning Resources > Tutorials > Getting Started with Maya > Animation > Lesson 1: Keyframes and
the Graph Editor >
Setting keyframes
In the following steps, you use keyframes to set the starting and ending positions of the ball’s movement.
To set beginning and ending keyframes
This sets a key at frame 1 for all transform attributes of the ball. Transform attributes are the X, Y, Z move attributes. Although you animate only the translate X and Y attributes of the ball in this lesson, keying all transform attributes saves you time having to choose specific attributes to be keyed.
In the Time Slider, notice the red marker at frame 1, known as a tick. This tick appeared when you set the key for frame 1. With the ball selected, ticks in the Time Slider indicate where you’ve set keys.
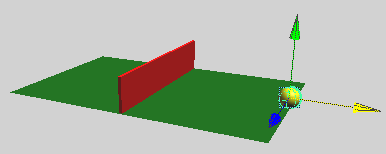
From the two keys you’ve set, Maya creates motion between the positions. By default, the animation plays in a loop from frame 1 to 72. The ball travels through the fence at this stage.
You can drag the mouse back and forth (scrub) in the Time Slider to see the animation play back and forth at the speed you drag the mouse.
If you were to display the scene with Panels > Layouts > Four Panes, only the active panel would show the ball moving.
To make the ball fly over the fence rather than pass through it, you need to position the ball above the fence and set a key there.
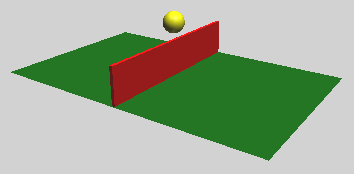
The ball now flies off the ground, over the fence, and back to the ground in a smooth arc between the keyed start, middle, and end positions.
In subsequent steps, play the animation after each key you set. It’s generally useful to check your work in progress after each key, especially when you are learning.
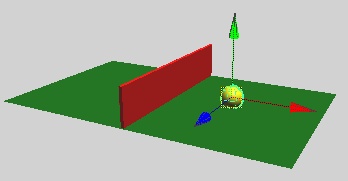
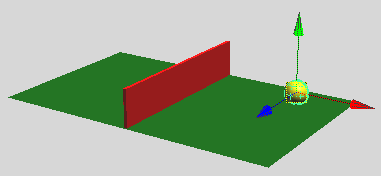
In the next steps, you’ll set keys to bounce the ball in the middle of the right half of the ground.
To set keyframes to make the ball bounce
If you have a fast computer, you might notice that the animation plays too fast. By default, Maya plays the animation as fast as it can be processed. Because this scene is simple, the animation might play faster than the default film rate (24 frames per second).
Do not be concerned that the animation plays with a halting or jerky motion. When you render all the frames of your animation for final production, the animation will be smooth. If you want to preview the animation at the smooth production speed (or nearly so), use Window > Playblast.