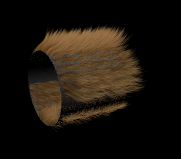
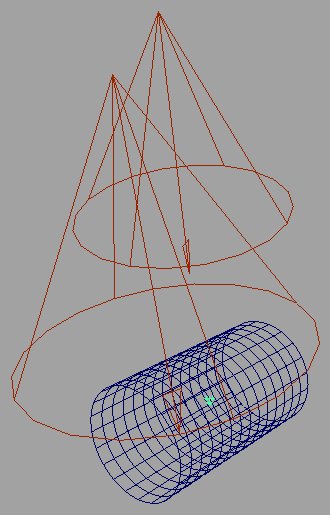
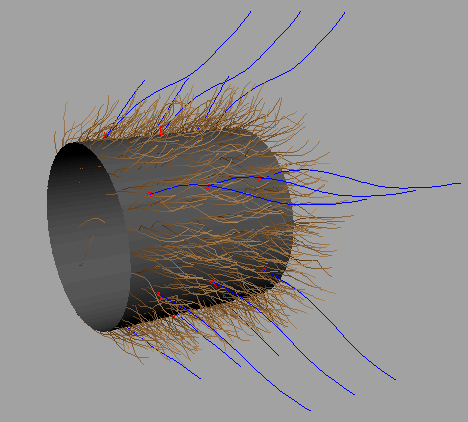
Example of an animal shaking
The following example illustrates how you can
make fur react to the motion of the object it’s attached to. For
example, when an animal shakes its body, its fur reacts to the motion.
For simplicity, we’ve used a cylinder to represent the body of the
animal.
To play the animation,
click the link below.
shakingAnimal.mov
To make fur react to motion
- Make a cylinder and add lights to your
scene.
- Add fur to the cylinder and then apply
the Fur Preset LionMane.
- Select
Fur > Offset Fur Direction by > 90
degrees.
- Add a 3 by 6 grid of hairs. (See
Create a hair system to be used with fur.
Make sure you select dynamic as your hair curve type.)
- Attach the hair system to the fur. See
Attach and detach hair systems to/from fur.
- Select
Fur > Set Start Position To and
select the fur description so you don’t lose the combed or inclined
position of the fur.
- Keyframe the movement of the cylinder
as follows:
- Turn on Auto Key by
clicking
 at the
bottom-right corner of the Maya main window.
- Move to the first frame and select
Animate > Set Key.
- In the Channel Box select
the Rotate X, Rotate
Y, and Rotate Z fields.
- Right-click one of the selected fields
and select Key Selected.
- Move to another frame and change the Rotate values.
- Repeat the previous step as required.
- Edit the fur curve attractor set, from
the Render menu, select
Fur > Edit Curve Attractor Set > AttractorSetName,
and then make the following adjustments:
- Attractor
Model: Local
- Curves Per Fur: 1
- Radius: 10
- Influence: 1
- End Length: 5
- Threshold Length: 0.33
- In the hairSystem, set the Start
Curve Attract attribute to 0.2.
- Click the Play Forward
 button
to check that the attrac tors are moving the way you want the fur
to move.
- Fine-tune the movement of the attractors,
if necessary.
- Render the frames that make up the animation.
For details, see
Render an animation with fur.


 at the
bottom-right corner of the Maya main window.
 button
to check that the attrac tors are moving the way you want the fur
to move.