


User Guide > Rendering and Render Setup > Rendering > mental ray for Maya rendering > Work with multi-render passes >
Introduction to multi-render passes: a simple workflow
example

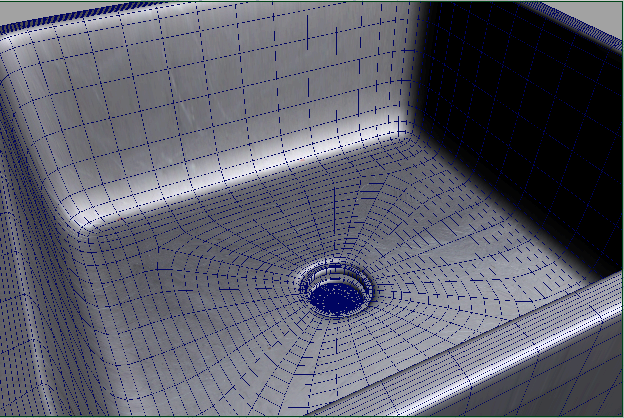
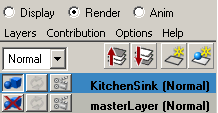
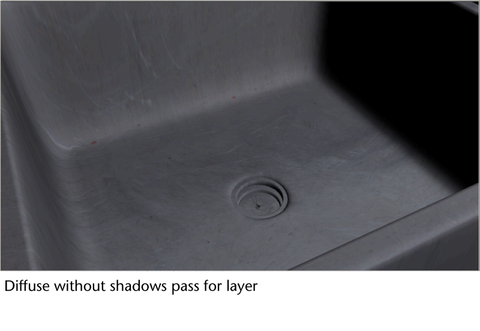
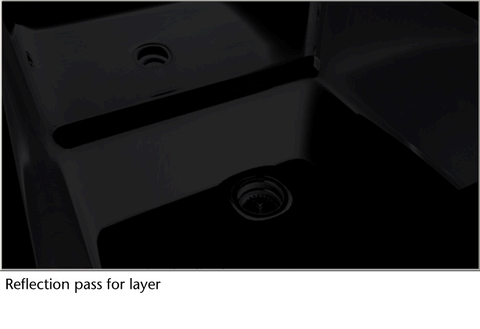
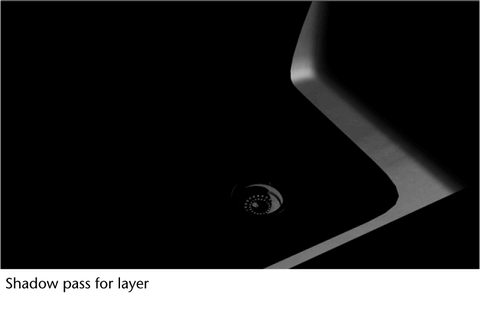
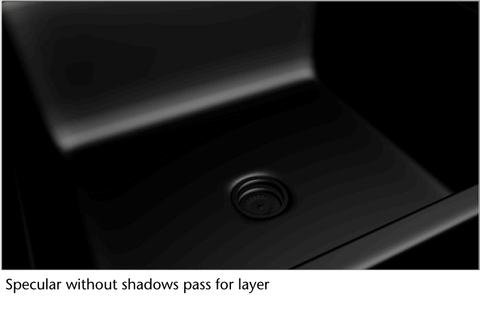
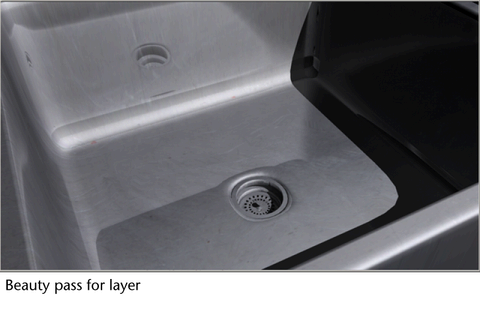
In this scene there is a render layer, named KitchenSink, which includes a sink and a spotlight. The sink has a Phong shader applied to it and the spotlight’s Use Ray Trace Shadows attribute is enabled. Use the following simple workflow to obtain a diffuse, reflection, shadow and specular pass for this layer.
Create render passes for the render layer
 button
to create a new render pass. The Create Render Passes window
appears.
button
to create a new render pass. The Create Render Passes window
appears.
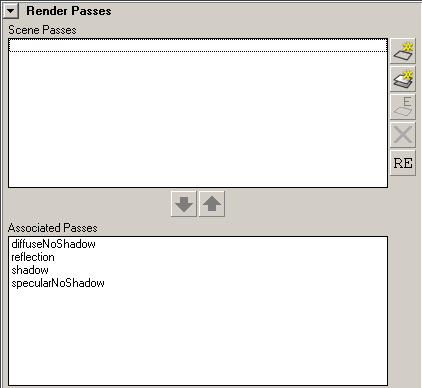
In addition to creating render passes for the entire render layer, you can also create render passes for a subset of the objects and lights in your render layer. You can do this by creating a render pass contribution map. See Creating render pass contribution maps for more information.
You can also customize the subfolders and filenames to which the rendered images are stored. See Creating subfolders and filenames for rendered images for more information.
If you have many render passes in your scene, you can group them into render pass sets, for example, an Illumination pass set that includes all passes involving lights, such as diffuse, and ambient. See Using render pass sets in your scene for more information.